How to make leather grip?
Making a
leather grip is a step-by-step process that starts with choosing the right leather. First, you need to pick the type of leather. It can be natural leather from animal skins or
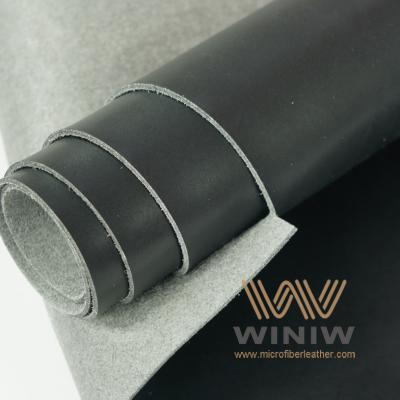
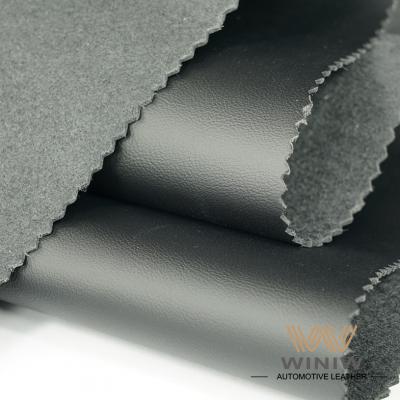
artificial leather like
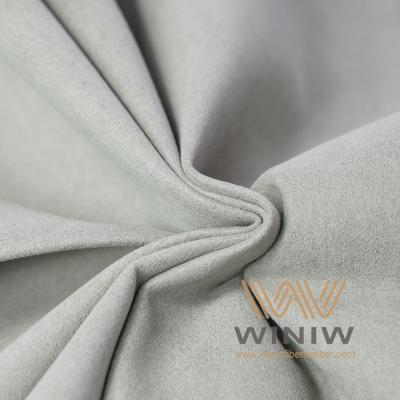
PU. Natural leather is soft and can absorb small amounts of moisture, which is good for grip. Artificial leather is often cheaper and more durable, so it’s also a common choice.
Next, you need to cut the leather into the right size and shape. You measure the object that needs the grip—like a tool handle or a sports racket. Then, use a ruler to mark the leather, and cut it with scissors or a sharp knife. The shape should fit the object tightly; if it’s too big, it will be loose, and if it’s too small, it won’t cover the surface well.
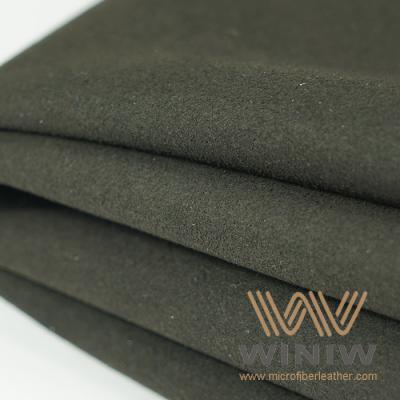
After cutting, you need to prepare the leather’s surface. For natural leather, you might sand it a little with fine sandpaper. This makes the surface slightly rough, which helps create more friction. For
artificial leather, you can clean it with a dry cloth to remove any dust. A clean surface helps the grip stick better later.
Then, adding texture is important. Texture makes the grip hold better. You can use a tool to press small patterns into the leather—like tiny lines or dots. Some people use a stamp with simple shapes. For artificial leather, sometimes the texture is added during the making of the leather itself, but you can still add more if needed. These textures increase friction, so your hand won’t slip easily.
Once the texture is ready, you shape the leather to fit the object. If the handle is curved, you can gently bend the leather. Sometimes, you might use a little heat—like a hair dryer—to make the leather softer and easier to shape. You hold it in place until it cools down, so it keeps the right form.
Finally, you attach the leather to the object. You can use strong glue. Spread a thin layer of glue on the back of the leather and on the object’s handle. Wait a few seconds for the glue to get sticky, then press the leather onto the handle. You can wrap a cloth around it and use clips to hold it tight while the glue dries. For extra strength, some people also stitch the edges with a needle and thread. This stops the leather from peeling off over time.
After the glue dries or the stitching is done, you check the grip. Make sure it fits well and doesn’t move. If there are any rough edges, you can trim them with scissors. Now the leather grip is ready to use. It might feel a little stiff at first, but with use, it will get softer and fit your hand better.


 Tel : +86 18150976625
 Email : Market@MicrofiberLeather.com