Many beginners feel uncertain when tackling car upholstery repair. They discover that simple steps lead to impressive results. He or she can restore car upholstery without professional help. People often save money and gain confidence through diy projects. This process encourages creativity and practical skills. Anyone can achieve a fresh look for their car interior by following basic instructions.
Assess the damage to your car upholstery before starting repairs. Identify the type and extent of damage to choose the right repair method.
Use the right tools for removing car seats. Gather essential tools like a socket wrench, screwdrivers, and safety gear to ensure a smooth process.
Take off old upholstery carefully. Use the correct fasteners and avoid excessive force to protect the seat frame during removal.
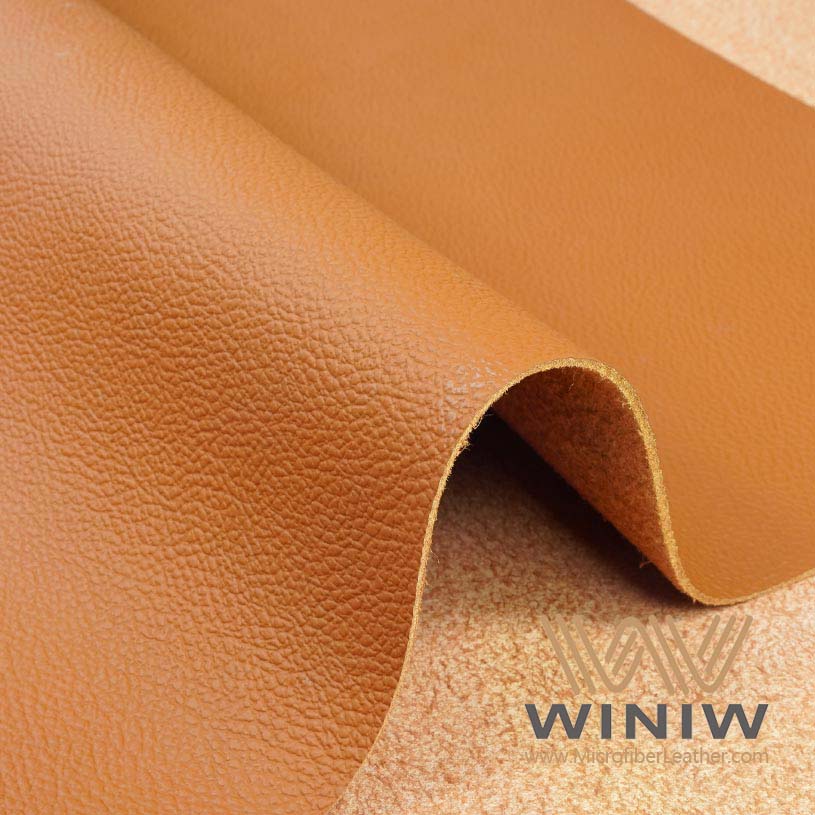
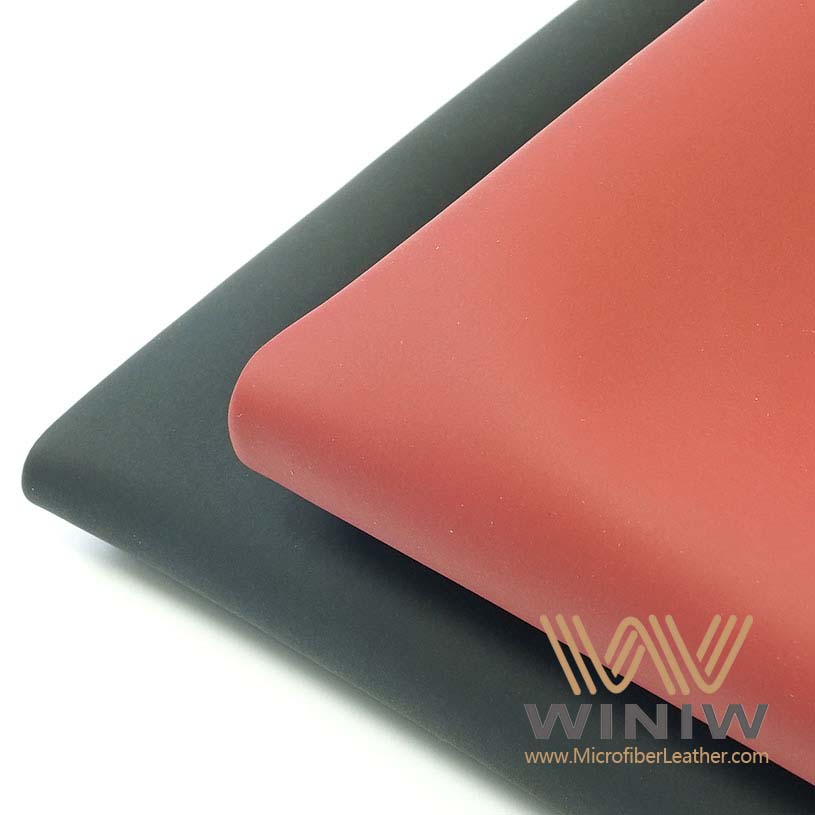
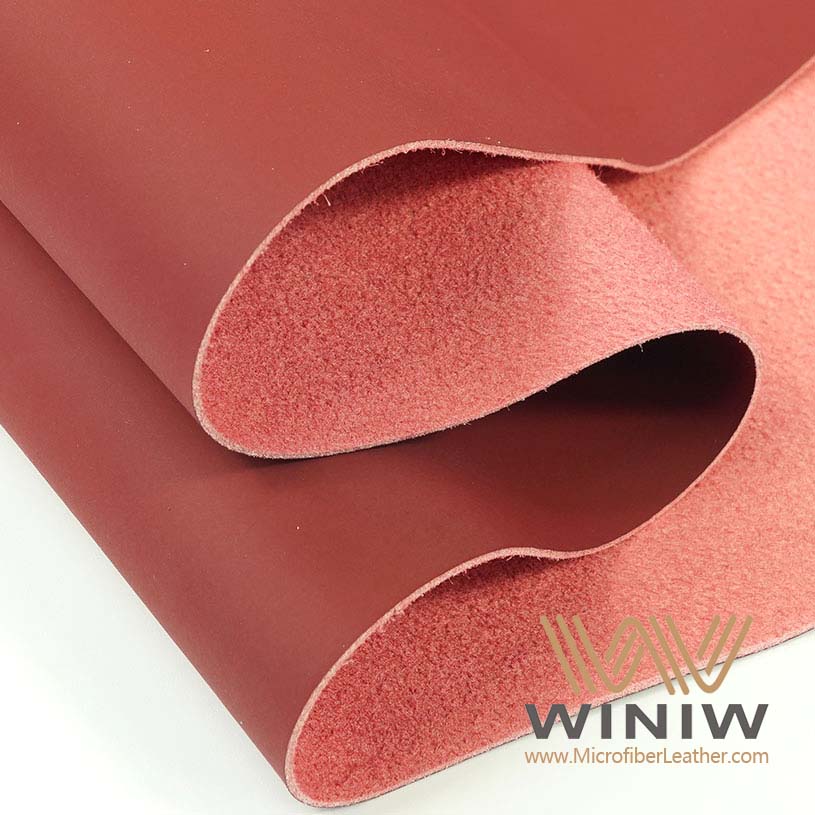
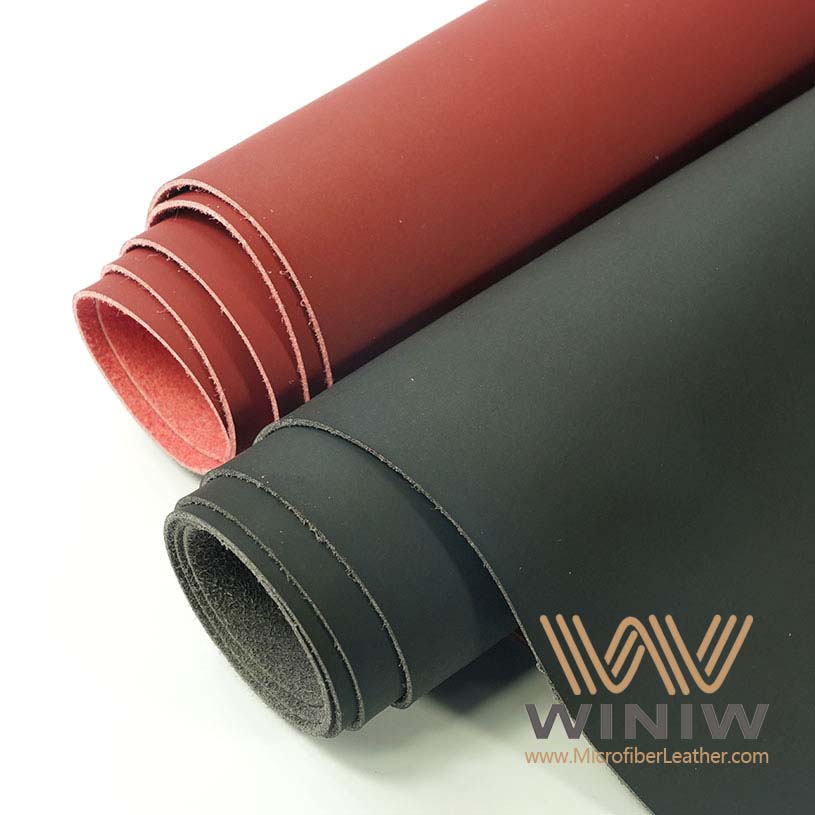
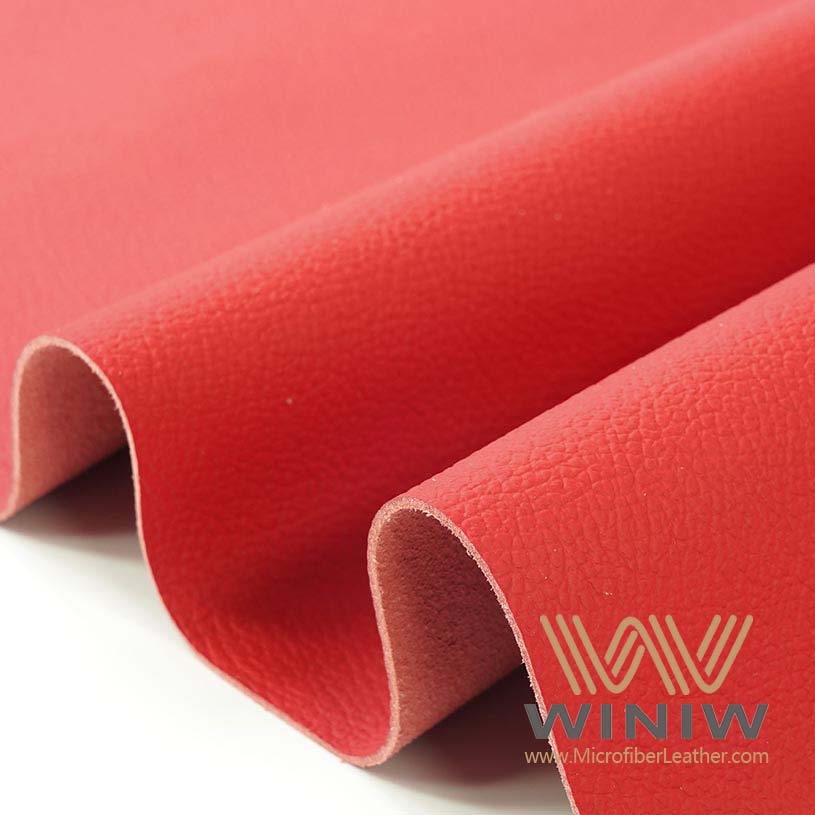
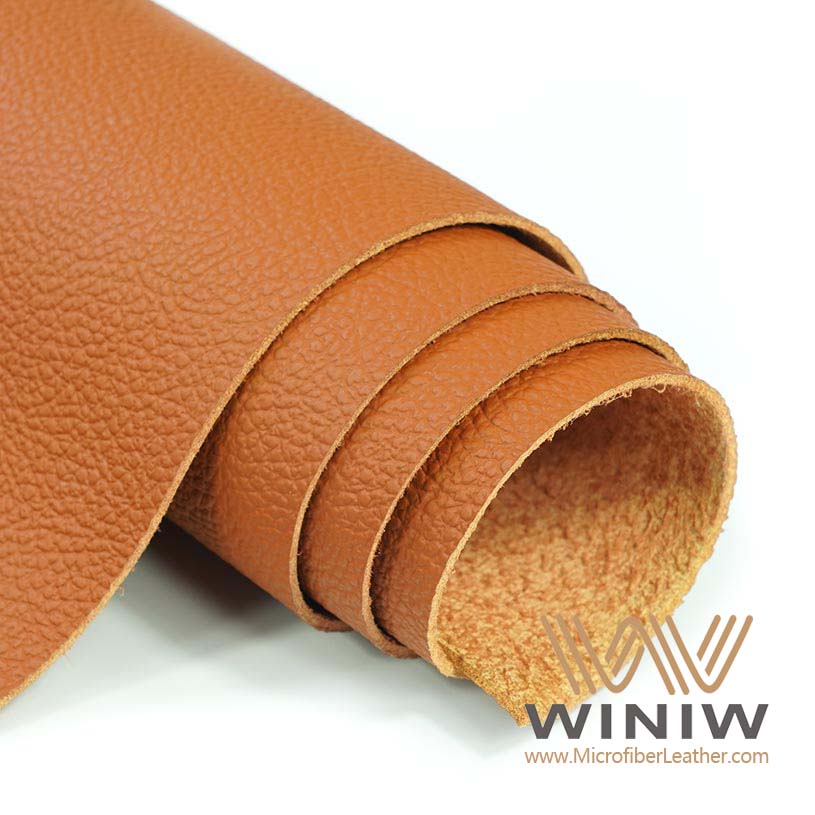
Choose the right fabric for reupholstery. Consider durability, comfort, and ease of cleaning when selecting materials for your car seats.
Learn basic sewing techniques. Hand stitching and machine sewing are both effective methods for securing new upholstery.
Reinstall seats with care. Organize all parts and follow the manufacturer’s instructions to ensure a safe and secure fit.
Regularly clean and maintain your upholstery. Vacuuming and spot cleaning help keep seats looking new and extend their lifespan.
Prevent damage by using seat covers and cleaning spills immediately. Taking proactive steps can save time and money on future repairs.
Before starting any car upholstery repair, a person should carefully inspect the car’s interior. This step helps identify the type and extent of damage. A thorough assessment ensures the right repair method and materials.
Car upholstery faces many threats from daily use and environmental factors. Some of the most frequent types of damage include:
UV light: Sun exposure can fade and weaken fabric or leather.
Cigarette ash and smoke: Smoking in the car often leads to burns, stains, and lingering odors.
Collisions: Accidents may cause rips, tears, or even structural seat damage.
Excessive water damage: Spills or leaks can result in stains, mold, or weakened material.
Automotive upholstery, whether leather or fabric, is prone to damage from both trauma and everyday use. Common issues include rips and stains, often resulting from smoking, collisions, and excessive water exposure.
Tears appear as splits or cuts in the fabric or leather. They often result from sharp objects, seatbelt friction, or sudden pressure. Small tears may only affect the surface, while larger ones can expose the foam underneath.
Holes usually come from cigarette burns, punctures, or worn spots. These can vary in size. Small holes may seem minor, but they can grow if left untreated.
Worn areas develop over time. Frequent entry and exit, sliding, or rubbing against the seat can thin the material. These spots may look faded, shiny, or rough.
After identifying the damage, a person must decide between spot repair and full reupholstery. The choice depends on several factors:
Missing foam: If foam is gone, a full reupholstery may be needed.
Misshapen seats: Seats that have lost their shape often require more than a simple patch.
Missing material: Large sections of missing fabric or leather call for extensive work.
Protruding springs: Exposed springs indicate deeper seat problems.
Extensive stains: Severe stains may not come out with cleaning alone.
Tip: Use enzyme cleaners, microfiber cloths, and all-purpose cleaners to evaluate and clean the area before deciding on a repair.
|
Type of Service |
Cost Range |
|---|---|
|
Spot Repair |
Generally lower cost, varies based on damage |
|
Full Reupholstery |
$200 to $750 per seat; $500 to $2,000 for two bucket seats and one bench; over $1,000 for all surfaces, up to $10,000 for premium materials |
Labor and overhead costs, material choices, and seat design also affect the decision. Spot repairs work well for small tears or holes. Full reupholstery suits cases with missing foam, misshapen seats, or widespread damage. Many diy enthusiasts start with spot repairs to learn how to repair car upholstery before tackling bigger projects.
Removing car seats requires several basic tools. He or she should gather all necessary equipment before starting the process. This preparation helps avoid delays and ensures a smooth workflow. The following items are essential for safe and effective seat removal:
Socket wrench
Flathead screwdriver
Phillips screwdriver
Car seat removal tool
Safety glasses
Knee pad
Each tool serves a specific purpose. A socket wrench loosens and tightens bolts that secure the seat to the floor. Flathead and Phillips screwdrivers help remove screws from seat rails or trim panels. A car seat removal tool assists with stubborn fasteners or clips. Protective gloves shield hands from sharp edges and rough surfaces. Safety glasses prevent debris from entering the eyes. A knee pad provides comfort when kneeling inside the vehicle.
Tip: Organize all tools in a small toolbox or bag. This habit saves time and keeps the workspace tidy.
Safety plays a vital role in car seat removal. He or she must follow several precautions to protect themselves and the vehicle. Modern cars often contain complex electronics and airbag systems. Mishandling these components can lead to injury or damage.
Before starting, disconnect the battery. This step prevents electrical hazards and accidental airbag deployment. He or she should locate the battery under the hood and remove the negative terminal using a wrench. Wait at least ten minutes after disconnecting the battery to allow residual power to dissipate.
Consult the vehicle’s owner manual or a trusted online guide. Each car model may have unique seat fasteners or electronic connectors. The manual provides instructions for safe removal and reinstallation. He or she should read the relevant sections before proceeding.
Next, slide the seat to its farthest position. This movement exposes the bolts securing the seat to the floor. Use a socket wrench to loosen and remove these bolts. Some seats have plastic covers over the bolts. A flathead screwdriver helps pry these covers off without damaging them.
Carefully unplug any electrical connectors attached to the seat. These connectors control features such as seat heaters, airbags, or sensors. He or she should press the release tab and gently pull the connector apart. Avoid pulling on the wires directly.
Lift the seat out of the vehicle. Seats can be heavy and awkward to maneuver. Wearing gloves and using a knee pad reduces strain and protects against injury. If the seat feels too heavy, ask for help or use a lifting strap.
Note: Store removed bolts, screws, and connectors in labeled containers. This practice makes reinstallation easier and prevents lost parts.
By following these steps, he or she can remove car seats safely and efficiently. Proper preparation and attention to detail reduce risks and set the stage for successful upholstery repair.
Removing old car upholstery requires patience and attention to detail. He or she should approach this step methodically to avoid damaging the seat structure. The process begins after the seat has been safely removed from the vehicle.
Most car seats use several types of fasteners to secure the upholstery. Recognizing these fasteners helps prevent mistakes during removal. The most common fasteners include:
Clips: These hold trim and panels in place. Special clip removal tools allow for safe extraction without breaking the clips or scratching surfaces.
Screws: Many seats use screws to attach fabric or leather to the frame. A screwdriver with the correct head size ensures easy removal.
Bolts: Heavy-duty bolts secure larger sections of upholstery. A socket wrench helps loosen and remove these bolts efficiently.
He or she should use the right tool for each fastener. Clip removal tools prevent damage to both the fastener and the seat. When unscrewing or unbolting, steady pressure avoids stripping threads or breaking heads. Organizing removed fasteners in labeled containers keeps the workspace tidy and simplifies reassembly.
Tip: Photograph each step during disassembly. These images serve as a reference when reattaching new upholstery.
Preserving the seat frame is crucial during the removal process. He or she should follow a careful sequence to keep the frame intact:
Remove the seat cushion from its frame if possible. Unscrew bolts or extract staples that hold the cushion in place.
Detach the old fabric or padding gently. Observe how each layer was attached to understand the original construction.
Inspect the seat for hidden staples or tacks. These often secure the upholstery in hard-to-see areas.
Use a staple remover or pliers to extract fasteners one by one. Gentle movements prevent scratches or dents on the frame.
He or she should avoid using excessive force. If a fastener resists removal, applying a small amount of lubricant can help. Working slowly ensures the seat frame remains undamaged and ready for new material.
Note: Clean the seat frame after removing all upholstery. A clean surface helps new fabric adhere better and extends the life of the repair.
Taking off old car upholstery sets the foundation for a successful diy project. Careful handling of fasteners and attention to the seat frame guarantee a smooth transition to the next step.
He or she should start by measuring the seat carefully. Accurate measurements help avoid wasted material and ensure a snug fit. Many beginners use the old upholstery as a template. This method allows for precise cutting and reduces mistakes. When tracing the pattern, he or she must remember to add seam allowances. These extra margins make sewing easier and prevent the fabric from pulling apart at the edges.
A step-by-step approach helps beginners achieve professional results:
Lay the old upholstery flat on the new fabric.
Trace the outline with tailor’s chalk or a washable marker.
Add seam allowances, usually about half an inch, around the edges.
Cut the fabric slowly with sharp scissors or a rotary cutter.
Reinforce seams in high-stress areas to prevent future damage.
Apply spray adhesive to foam if needed for extra grip.
Stretch the fabric tightly and evenly over the seat before securing it with hog rings or clips.
Tip: Use a walking foot sewing machine for thick materials like vinyl. This tool prevents bunching and ensures smooth stitching.
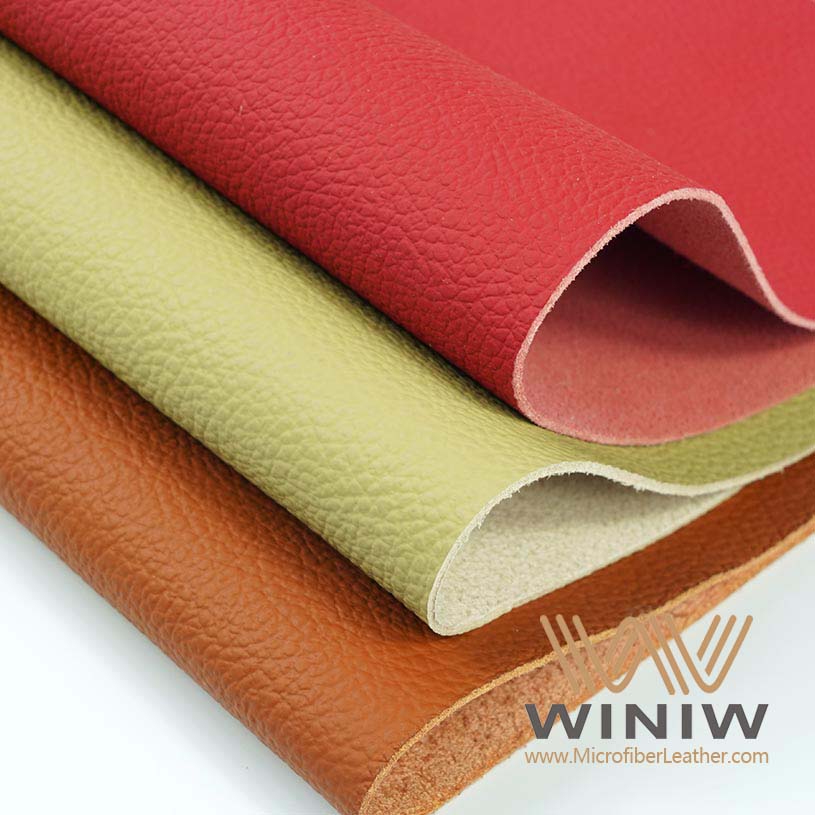
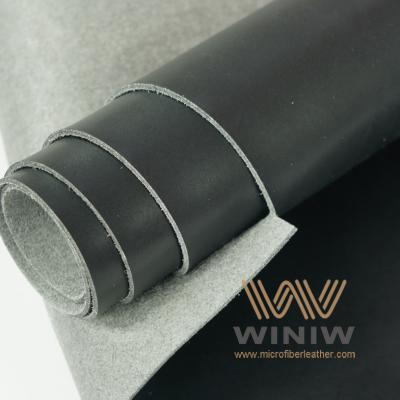
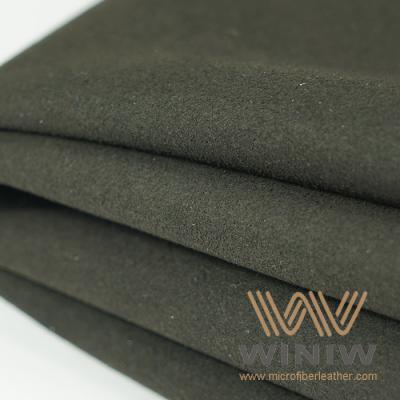
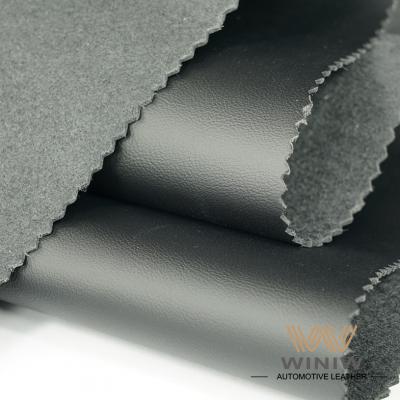
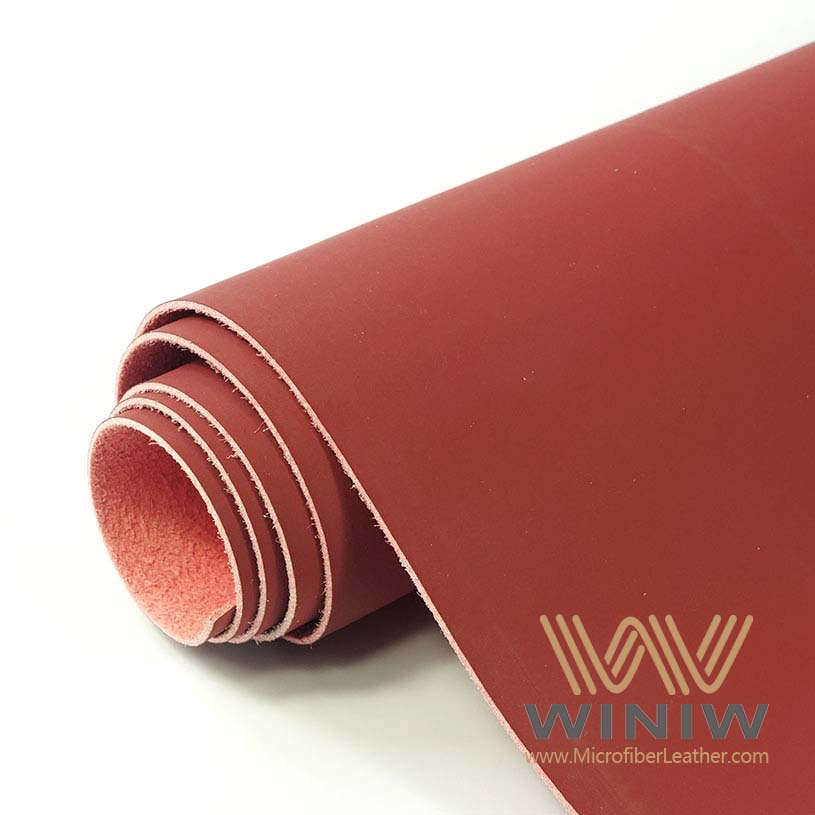
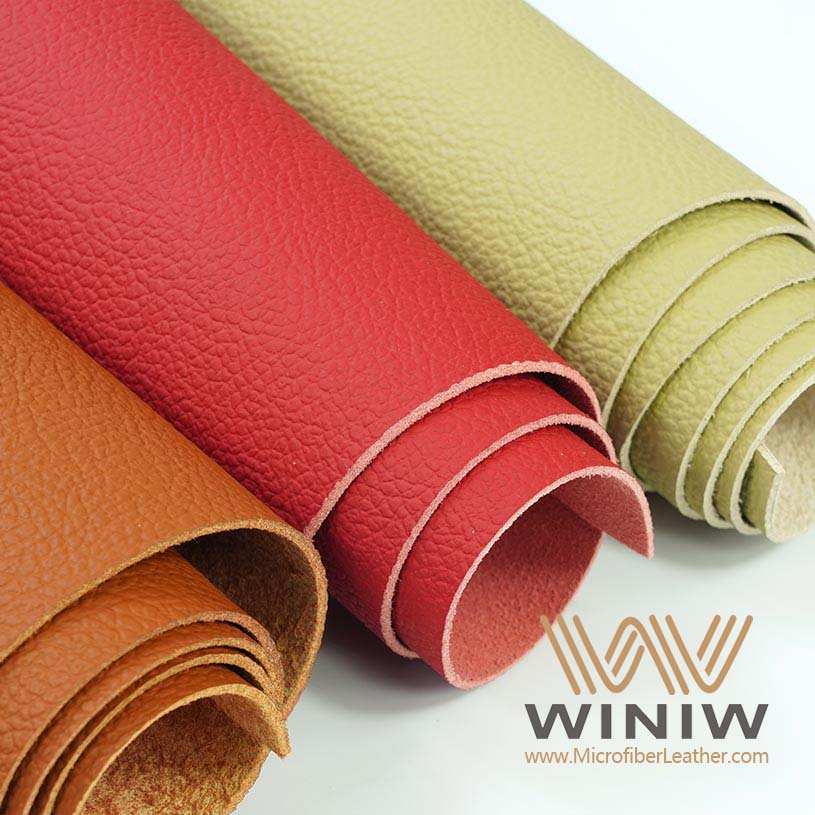
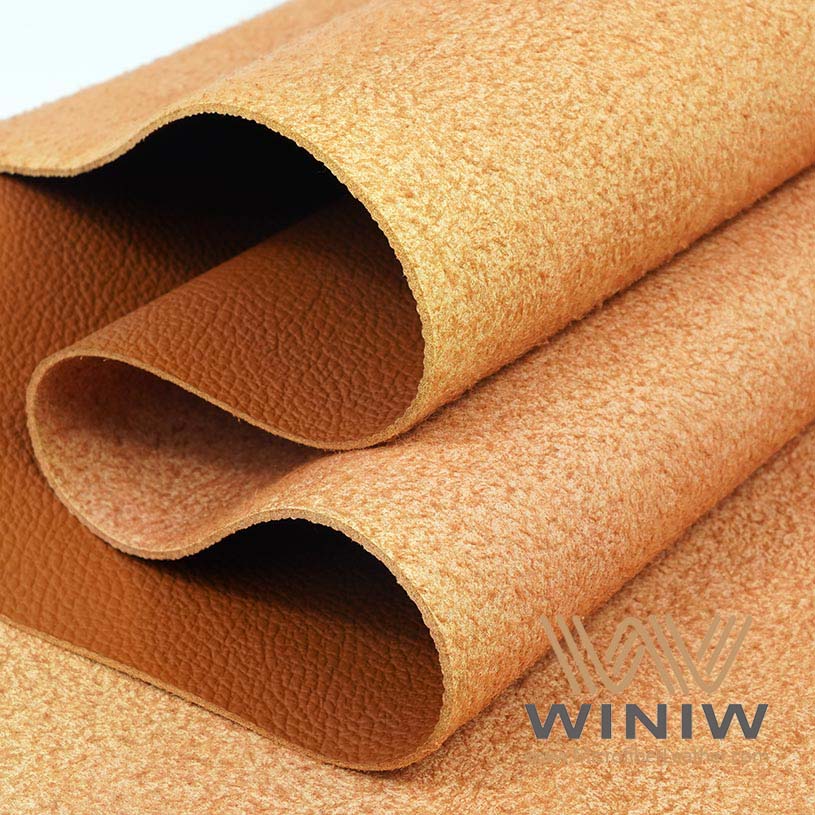
Selecting the right fabric plays a key role in the durability and appearance of car seats. He or she should consider how the material will perform under daily use. Some fabrics resist stains and water, while others offer a luxurious feel. The table below compares popular options for car seat reupholstery:
|
Fabric Type |
Pros |
Cons |
|---|---|---|
|
Durable, dust resistant, water resistant, easy to clean |
Not breathable, easier to puncture |
|
|
Polyester |
Durable, stain-resistant, waterproof, lightweight, easy to clean |
Absorbs odors, can stain easily |
|
Alcantara |
Stays cleaner longer, no smell, durable, ideal for luxury cars |
Can be pricier, dries slowly after cleaning |
He or she should think about climate, comfort, and budget when choosing the right materials. Faux leather suits those who want easy cleaning and a modern look. Polyester works well for families because it resists stains. Alcantara appeals to drivers who prefer a premium finish.
After selecting the fabric, he or she should lay out the patterns on a clean, flat surface. This step helps avoid wrinkles and ensures each piece matches the seat’s contours. Beginners often use pins or weights to hold the fabric in place. Careful alignment prevents waste and makes sewing easier.
He or she should double-check the orientation of each pattern piece. Some fabrics have a grain or texture that looks best when aligned in a certain direction. Marking the top and bottom of each piece helps maintain consistency. For a successful diy project, patience and attention to detail make a big difference.
Note: Always test-fit the cut pieces on the seat before sewing. Adjustments at this stage save time and prevent costly errors.
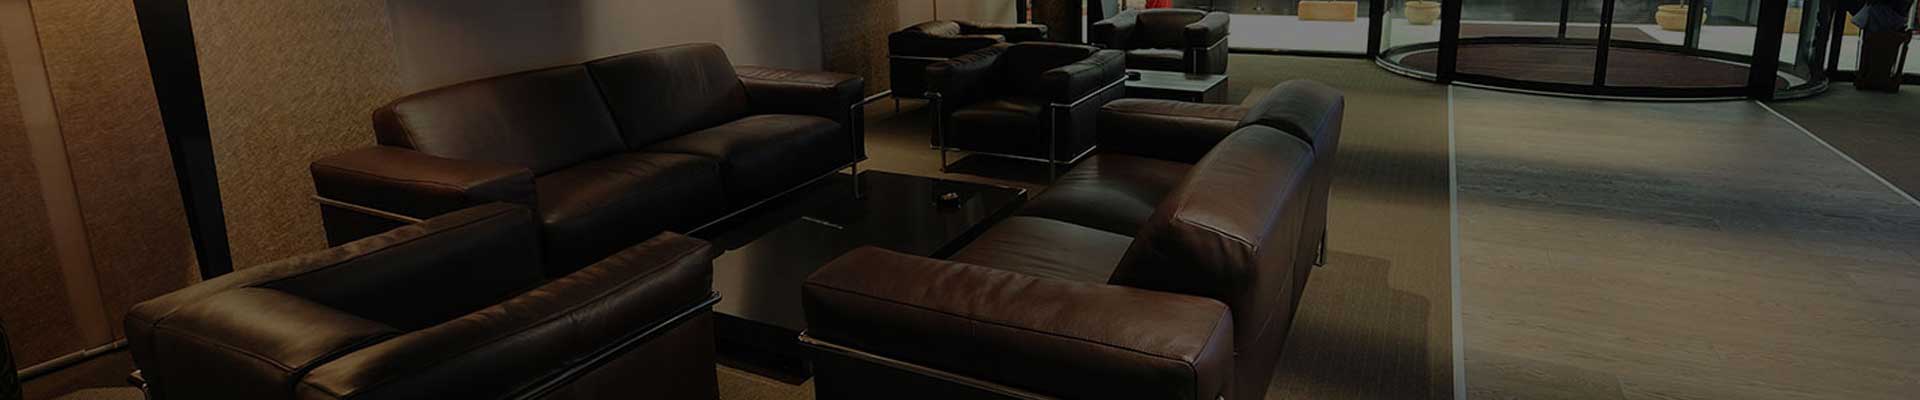
Reupholstering car seats gives any vehicle a fresh, comfortable look. This process may seem challenging, but beginners can achieve professional results by following basic sewing methods and using the right materials. Careful attention to detail ensures the new upholstery fits tightly and lasts for years.
Learning the right sewing techniques helps beginners reupholster car seats with confidence. Two main methods work well for most projects: hand stitching and machine sewing.
Hand stitching offers control and precision, especially for small repairs or tight corners. Beginners often start with this method because it requires minimal equipment. He or she should use a curved upholstery needle, which glides easily through thick fabric and foam. The ladder stitch and whip stitch work best for closing seams and attaching fabric to hidden areas.
The ladder stitch creates an invisible seam, perfect for visible sections.
The whip stitch secures fabric edges quickly and works well for areas under the seat.
He or she should keep stitches even and tight. Small, consistent stitches prevent gaps and help the fabric stay in place. Using a thimble protects fingers from sharp needles.
Machine sewing speeds up the process and produces strong, uniform seams. A heavy-duty sewing machine handles thick materials like vinyl or leather. Beginners should select a straight stitch for most seams and a zigzag stitch for added strength in high-stress areas.
Always test the machine on a scrap piece of fabric first.
Adjust the stitch length to match the thickness of the material.
Use a walking foot attachment to prevent bunching and ensure smooth feeding.
A standard home sewing machine may struggle with tough materials. Investing in a heavy-duty model makes it easier to reupholster car seats and repair car upholstery with professional results.
Tip: Beginners should never skip the seam allowance when cutting fabric. This extra margin is crucial for a secure and durable finish.
Choosing the right thread is essential for durability and appearance. Upholstery thread must withstand daily wear and tear, as well as exposure to sunlight and moisture. Polyester threads are the top choice for car seat repairs. They offer excellent strength, resist abrasion, and maintain color over time. These threads are specifically designed for automotive interiors and provide a reliable hold for both hand and machine sewing.
Polyester thread resists stretching and fraying.
It matches a wide range of fabric colors.
The thread holds up well under stress and frequent use.
He or she should always use strong upholstery thread to ensure the seams last as long as the new fabric.
Securing the fabric tightly is the final step in reupholstering car seats. Proper tension prevents wrinkles and sagging, giving the seat a smooth, professional look. Beginners should follow these steps for best results:
Lay the fabric over the seat and align it with the original seams.
Stretch the material evenly from the center outward.
Use hog rings, clips, or staples to attach the fabric to the seat frame.
Work in small sections, checking for wrinkles as each area is secured.
Smooth out any creases before moving to the next section.
Many beginners make common mistakes during this stage. They sometimes forget to stretch the fabric properly, which leads to wrinkles and a loose fit. Others may skip replacing worn foam, resulting in uncomfortable seats. Using the right tools and techniques helps avoid these issues.
Note: Always replace old or damaged foam before securing new fabric. This step ensures comfort and support for years to come.
A successful diy project depends on patience and attention to detail. By following these steps, anyone can reupholster car seats and enjoy a refreshed car interior.
He or she should begin the reassembly process by gathering all removed bolts, screws, and connectors. Organizing these parts in labeled containers during disassembly makes this step easier. Each seat must align with its original mounting points. He or she should position the seat inside the vehicle, making sure the rails and brackets match the floor holes.
A socket wrench helps secure the bolts tightly. He or she should avoid overtightening, which can strip threads or damage the seat frame. Electrical connectors require careful handling. Each plug must fit into its corresponding socket. He or she should listen for a click or feel for a secure connection.
Some seats include plastic covers for bolts. He or she should snap these covers back into place to maintain a clean look. If the seat features electronic controls, he or she should check the wiring before final tightening. A quick test of seat movement and adjustment confirms proper installation.
Tip: Photograph each step during reassembly. These images help verify correct placement and simplify troubleshooting if issues arise.
He or she should repeat the process for each seat. Consistency ensures all seats remain stable and safe. A checklist can help track progress and prevent missed steps.
|
Step |
Action |
|---|---|
|
Position seat |
Align rails and brackets with floor holes |
|
Secure bolts |
Tighten with socket wrench |
|
Connect electronics |
Attach plugs and test functions |
|
Replace covers |
Snap plastic covers over bolts |
|
Test adjustments |
Move seat to check stability |
Safety checks play a crucial role after reinstalling car seats. He or she should follow detailed installation instructions provided by the vehicle manufacturer. Many car makers offer step-by-step guides and videos for reference. These resources help ensure each seat sits securely and functions as intended.
He or she should inspect the seat at a certified station. Technicians at these locations check the installation for free. They confirm that bolts, connectors, and electronics work properly. This inspection adds an extra layer of confidence for beginners.
Familiarity with vehicle and seat parts helps prevent mistakes. He or she should review the owner’s manual and compare each installed seat with diagrams or photos. A visual check for gaps, loose bolts, or misaligned rails ensures safety.
Review manufacturer instructions and videos for proper installation.
Visit a certified inspection station for a free check by technicians.
Examine bolts, connectors, and seat movement for stability.
Compare installed seats with diagrams in the owner’s manual.
Confirm all electronic features function correctly.
Note: Regularly inspect seats after installation, especially after long trips or heavy use. Early detection of loose bolts or faulty connectors prevents accidents and keeps passengers safe.
He or she should treat safety checks as an essential part of the repair process. Careful attention to detail protects everyone in the vehicle and extends the life of the new upholstery.
Regular cleaning keeps seats looking new and extends their lifespan. He or she should vacuum seats and floor mats every one to two weeks. Wiping down leather or vinyl surfaces removes dust and prevents buildup. Spot-cleaning spills immediately helps avoid permanent stains.
For fabric seats, a soft brush removes dust before spraying a cleaner like 303™ Cleaner & Spot Remover. Wiping with a damp cloth finishes the job. Allowing upholstery to dry completely before use prevents mold and odors. Applying a fabric protection product such as 303™ High Tech Fabric Guard after drying adds a layer of defense.

Leather seats need gentle care. Using a leather cleaner and conditioner maintains softness and prevents cracking. A microfiber cloth avoids scratches and spreads cleaner evenly. Non-greasy cleaners keep dust from sticking to surfaces. Conditioning leather every three to six months preserves its appearance.
He or she should disinfect high-touch areas, including steering wheels and door handles, to reduce germs. Running a solution of distilled water and white vinegar through an extractor prevents clogging and keeps cleaning tools effective. Using UV protectants on dashboards and trim helps prevent cracking from sun exposure.
|
Cleaning Task |
Frequency |
Recommended Product/Method |
|---|---|---|
|
Vacuuming |
1–2 weeks |
Vacuum, soft brush |
|
Spot Cleaning |
As needed |
303™ Cleaner & Spot Remover, damp cloth |
|
Deep Cleaning |
3–6 months |
Shampoo, steam clean, leather conditioner |
|
Disinfecting |
Weekly |
Microfiber cloth, disinfectant |
|
UV Protection |
Monthly |
UV protectant spray |
Tip: He or she should always test cleaners on a small area first to avoid damage.
Prevention keeps seats in top condition and reduces the need for frequent repairs. He or she can use seat covers to shield upholstery from stains, tears, and sun damage. Floor mats protect against dirt and mud, especially in wet weather.
Parking in shaded areas or using sunshades reduces sunlight exposure. Tinted windows block harmful UV rays that fade and weaken materials. Applying protector sprays acts as sunscreen for seats, guarding against stains and UV rays.
Quick action matters. Cleaning spills immediately with a clean cloth prevents stains from setting. Maintaining a no-smoking policy inside the vehicle stops smoke damage and odors. Regularly applying a high-quality leather conditioner keeps leather soft and looking new.
He or she should keep things clean by removing stains promptly and maintaining overall cleanliness. Using seat protectors and covers adds a layer of defense against daily wear. For those who enjoy diy projects, these steps help preserve the results of their hard work.
Note: Preventive care saves time and money by reducing the risk of future damage.
He or she can achieve impressive results by following each step, from assessing damage to reassembling seats. Many beginners save money with diy repairs by using online kits and eliminating labor costs. Common challenges, such as stains or tears, can be solved with the right tools and techniques:
|
Challenge |
Solution |
|---|---|
|
Stains and Spills |
Use gentle cleaners or specialized treatments. |
|
Tears and Holes |
Patch with color-matched materials or use strong stitching. |
|
Fading and Discoloration |
Apply UV-protectant spray or re-dye for vibrancy. |
|
Odors |
Deep clean or use odor-neutralizing solutions. |
He or she can share progress and tips on forums or Instagram, where many users post their diy projects. Practice builds skill, and sharing experiences helps others learn.
Most beginners finish basic repairs in one to two days. The time depends on the size of the project and the type of damage. Full reupholstery may take longer, especially if he or she works alone.
He or she should have a socket wrench, screwdrivers, pliers, scissors, and a staple remover. A heavy-duty sewing machine helps with thick fabrics. Safety gear, such as gloves and glasses, protects against injury.
Leather and fabric seats require different techniques. Leather needs special cleaners and conditioners. Fabric seats often use patch kits or sewing. He or she should always check the material before starting any repair.
Many fabric and leather suppliers offer a wide range of colors. He or she can bring a sample to a local store or order swatches online. Matching the exact shade may take time, but close matches are usually available.
Patch kits work well for small holes or tears. He or she can use adhesive patches or sew the area closed. This diy approach saves money and keeps the seat looking good.
Yes, seats with airbags require extra care. He or she must disconnect the battery before removal. Mishandling airbag connectors can cause injury. Always follow the vehicle manual and safety guidelines.
Damaged foam needs replacement for comfort and support. He or she can buy foam sheets and cut them to size. Secure the new foam before attaching the upholstery for best results.
Tip: Always test new materials on a small area first to avoid mistakes.
Winiw International Co.,Ltd


Scan to wechat:


 Tel : +86 18150976625
 Email : Market@MicrofiberLeather.com