You can replace your car’s headliner with a Suede Car Headliner even as a beginner. The process follows four simple steps: remove, prep, install, and finish. Most people complete the process in one to two business days, depending on their car’s design:
|
Installation Time |
Description |
|---|---|
|
Typical time for Alcantara headliner installations, depending on complexity and vehicle design. |
With patience and a few basic tools, you can achieve a professional look. Many choose suede because it hides marks and stains better than other materials. If you take the diy route, you may spend around $200 to $400, while professional installation can cost much more. Follow each process step closely to get the best results.
Replacing your car headliner with suede is a manageable DIY project. Follow four main steps: remove, prep, install, and finish.
Gather essential tools like screwdrivers, a utility knife, and spray adhesive before starting. This preparation ensures a smoother installation process.
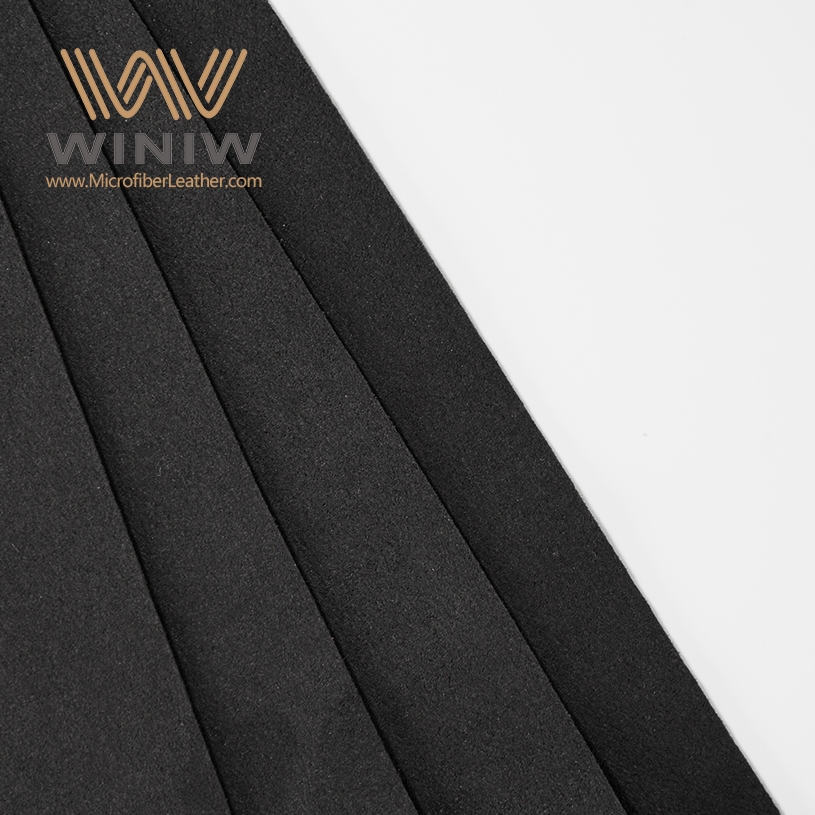
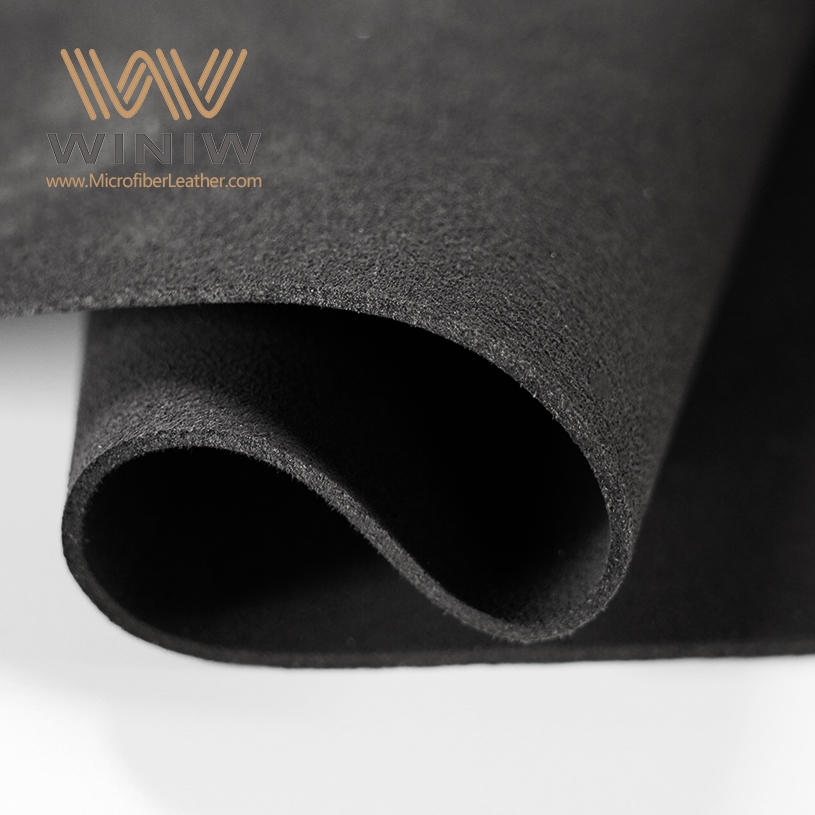
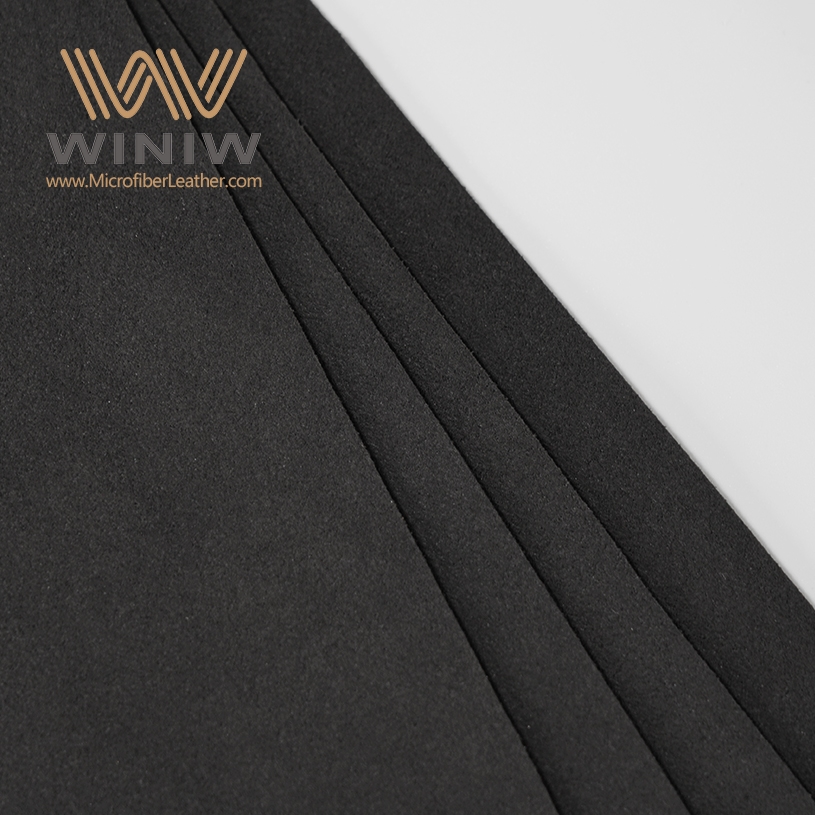
Choose high-quality suede fabric for a luxurious look. Black suede is popular for its modern style and ability to hide stains.
Take time to prepare your car's interior. Clean and protect surfaces to avoid damage during the installation.
After installation, maintain your suede headliner by brushing it weekly and using upholstery cleaner for spills.
Before you start, gather all the tools and supplies for a smooth installation. You will need:
Flathead and Phillips screwdrivers
A socket wrench set
A sharp utility knife or scissors
A stiff brush or vacuum
Spray adhesive designed for automotive use
A clean microfiber cloth
You should also have a new headliner board if the original one is damaged. These tools help you remove the old headliner and prepare the surface for the new material.
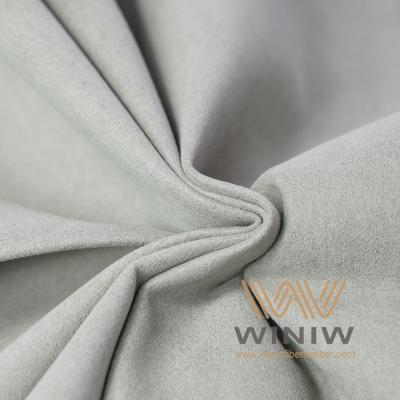
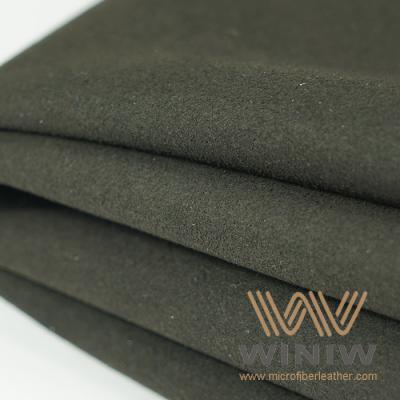
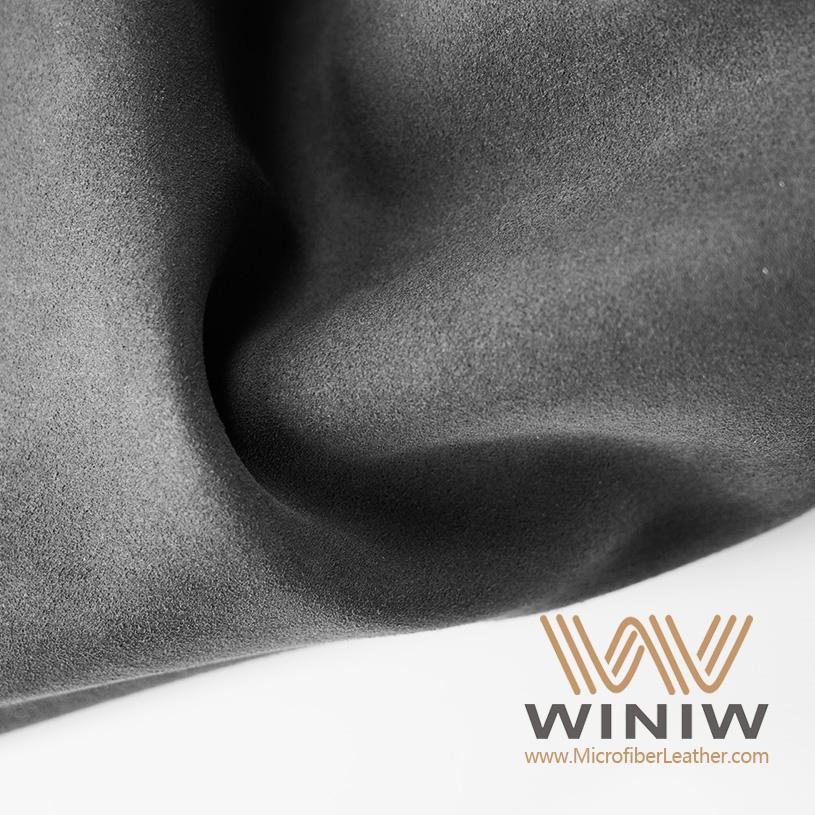
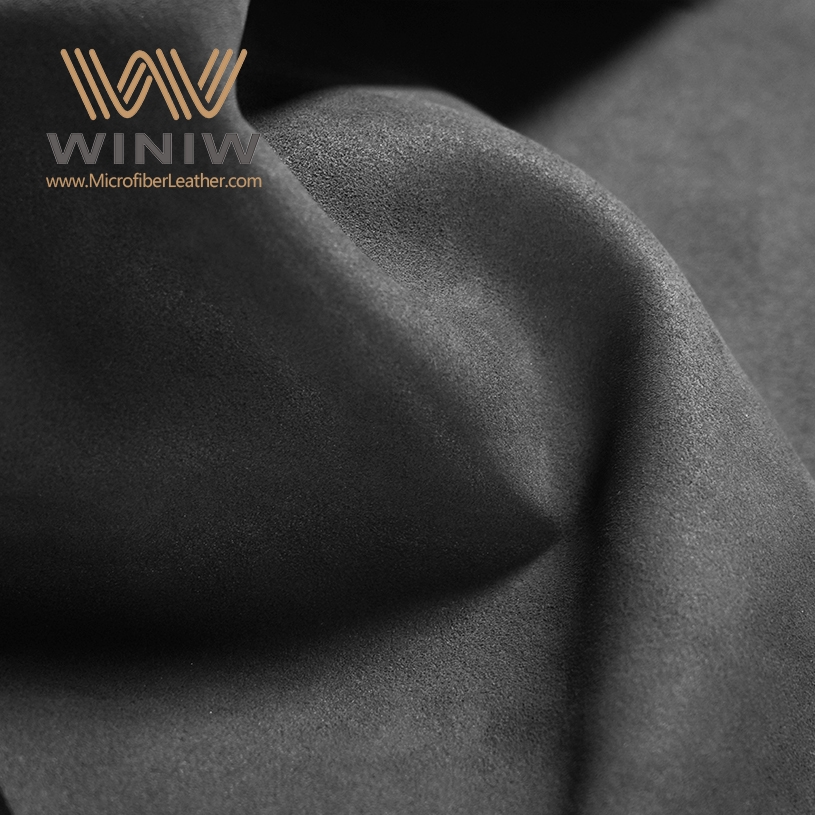
Selecting the right suede fabric makes a big difference in your project’s outcome. Suede gives your car a luxurious and fashionable appearance. It feels smooth and premium, and you can clean it easily with proper care. Suede is tough and engineered for demanding automotive applications, so it lasts longer than many traditional materials. Many car owners choose black suede for a modern, elegant look that hides stains well.
Here are some recommended types of suede fabric for automotive headliners:
|
Type of Suede Fabric |
Description |
|---|---|
|
SUEDE (Imitation) |
Suede headliner fabric suitable for automotive applications. |
|
Street Suede |
A type of suede fabric designed for automotive interiors. |
You need a high-quality spray adhesive made for automotive headliners. This adhesive ensures the suede bonds securely to the board and resists heat and humidity. Always work in a well-ventilated area.
Tip: Wear gloves to protect your skin from harsh adhesives. Safety goggles shield your eyes from flying debris during removal and installation.
Suede and microsuede both deliver comfort and durability. They withstand wear and provide a premium look for your car’s interior. With the right tools, fabric, and safety gear, you can achieve a professional finish that lasts.
You set yourself up for success by preparing your car’s interior before you start the headliner replacement. A clean and organized workspace helps you avoid mistakes and makes the process smoother. Follow these steps to get your car ready:
Create an optimal working environment: Park your car in a well-lit area. Good lighting helps you spot hidden screws or clips that hold the headliner in place.
Ventilation: Roll down the windows. Fresh air keeps you comfortable and prevents adhesive fumes from building up inside the car.
Declutter the interior: Remove all personal belongings and loose items from the glove compartment and center console. This gives you more space to move and reduces the risk of losing small parts.
Tip: Take photos of your car’s interior before you begin. These photos help you remember where each part belongs during reassembly.

You want to keep your car’s interior looking great during and after the installation. Protecting surfaces prevents accidental stains, scratches, or damage. Here are some effective methods:
Cover seats, dashboard, and door panels with clean towels or drop cloths. This shields them from adhesive overspray and falling debris.
Dust or vacuum the headliner area before you start. A clean surface helps the new suede stick better and keeps dust from spreading.
Use UV protectant sprays on plastic and vinyl surfaces. These sprays prevent fading and make cleaning easier.
Attach items inside your car with adhesive pads or velcro instead of nails or screws. This avoids permanent holes or damage.
Avoid smoking in your car. Smoke can discolor and stain the new suede headliner.
If you notice any damage during the process, consider hiring a professional for repairs. This ensures the job gets done right.
Taking time to prepare and protect your car’s interior leads to a cleaner, more professional result. You will thank yourself later for these extra steps.
You need to remove the headliner board carefully to avoid damage. This step is crucial for a successful headliner replacement. Follow these steps for the safest removal:
Use a trim removal tool or kit to detach the plastic trim panels along the ceiling. This tool helps you avoid scratching or breaking the panels.
Remove each trim panel slowly, paying attention to the clips that hold them in place.
Find a seam or opening where the headliner meets the edge of your car’s interior.
Gently pull down on one side of the headliner board. Avoid bending or creasing the board, as this can make reinstallation difficult.
Once the board is free, slide it out through the hatchback or a side door. Take your time to prevent any accidental damage.
Tip: Keep all screws and clips in a small container. This makes reassembly easier after your headliner replacement.
After you remove the board, you need to strip away the old fabric and adhesive. This step prepares the surface for the new suede and ensures your headliner replacement lasts.
Use a stiff brush or a drill brush to remove the old foam backing. These tools work well for most of the loose material.
For stubborn glue or felt backer, try a wire wheel or sandpaper. Work slowly to avoid damaging the board’s surface.
If you use a wire wheel, keep it away from plastic edges to prevent scratches.
Wipe the board with a clean microfiber cloth to remove dust and debris.
Note: A clean, smooth board gives you the best results for your headliner replacement. Take your time during this step for a professional finish.

You want the best results for your suede car headliner, so start with a spotless and smooth board. Any leftover foam or glue can weaken the bond and cause the fabric to sag. Use a stiff brush or vacuum to remove all debris. If you see any cracks or dents, repair them before moving forward. Small holes or rough spots can be filled with lightweight body filler or craft foam. Sand the area gently until it feels even.
Follow these steps for a flawless surface:
Remove seatbelt covers, dome lights, speakers, visors, and hangers.
Take out upper pillar panels if needed to drop the board.
Carefully remove the headliner board, using a gentle touch to avoid damage.
Clean the board thoroughly, making sure no old foam or glue remains.
Repair any damaged spots and let them dry completely.
Tip: Rushing the cleaning process can leave behind old foam or glue, which weakens the bond and leads to peeling.
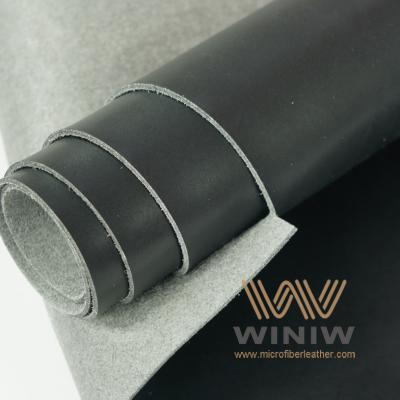
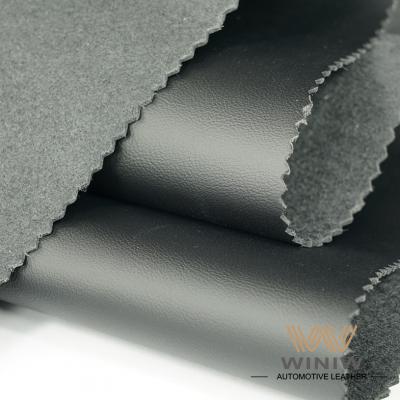
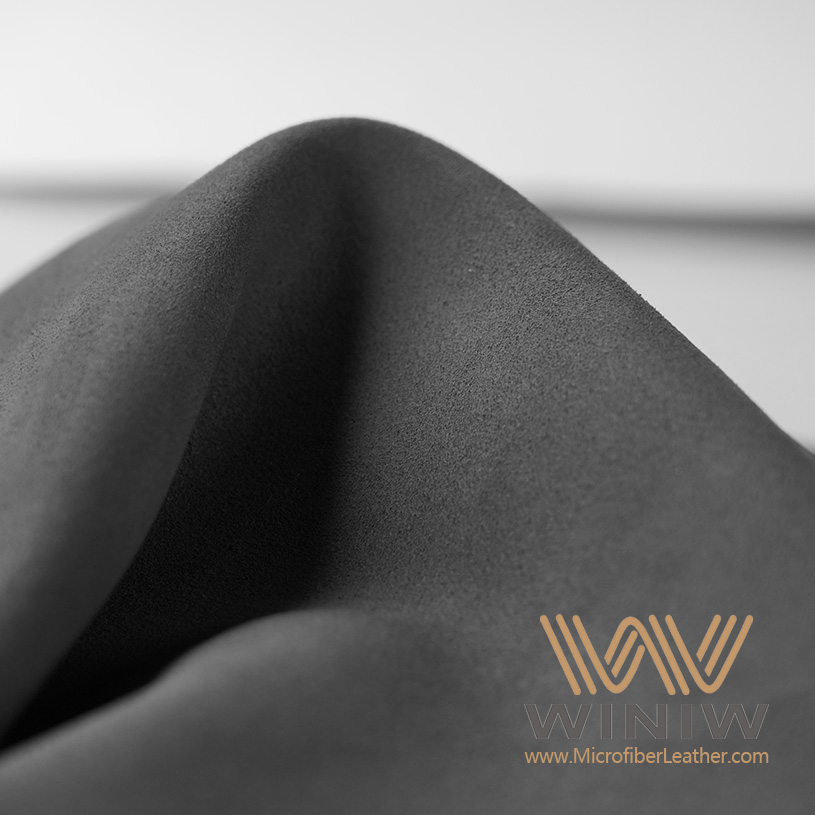
Once your board is ready, you can move on to laying the suede. Choose a high-quality, stretchable suede for your car headliner. This type of material stretches easily, so you get a snug fit without creases. It also gives your interior a refined, premium look.
Lay the suede fabric flat over the board and cut it, leaving a few extra inches on all sides. This extra fabric helps you wrap the edges neatly. Mark any mounting points or holes before you start gluing it to the parts.
Contact cement or a high-bond spray adhesive works best for this step. Camie 393 Headliner, Trim & Laminating Adhesive is a popular choice because it holds strong and resists heat. Spray a light, even coat on both the board and the back of the suede. Wait until the adhesive feels tacky. This prevents the glue from soaking through the fabric and keeps the surface smooth.
Start at the center and press the suede onto the board, working outward. Smooth out any bubbles or wrinkles as you go. Use your hands or a soft roller for even pressure. Trim away excess fabric once the suede is secure.
Note: Applying too much adhesive in one spot can soak through the suede car headliner. Always use light, even coats for the best finish.
You can achieve a professional look if you take your time and follow these tips:
Always use high-quality, stretchable suede for easier application and a smoother finish.
Allow the adhesive to become tacky before attaching the fabric. This step ensures a strong, lasting bond.
Spray both the board and the fabric with adhesive. Skipping this step reduces bond strength and may cause sagging.
Mark all mounting points before trimming the fabric. This makes reinstallation much easier.
Avoid rushing. Laying the suede slowly and carefully prevents creases and bubbles.
After the adhesive sets, check for any loose spots and press them down firmly.
A suede car headliner offers elegance, softness, and durability. The right materials and careful technique help you create a custom look that lasts. With patience and attention to detail, you can install a headliner that rivals professional work.
You have finished upholstering your board with suede. Now, you need to fit it back into your car. Follow these steps for a smooth installation:
Slide the board carefully through the door or hatchback.
Align the board with the ceiling, making sure it sits evenly.
Secure the board by reinstalling the trim panels and clips you removed earlier.
Replace all accessories, such as dome lights, visors, seatbelt covers, and hangers.
Double-check that everything fits snugly and nothing blocks the view.
Tip: Take your time during this step. Rushing can cause the board to bend or the fabric to shift.
After you fit the board, you need to trim any extra suede and clean up your workspace. Use the right tools for a neat finish:
Use a sharp utility knife or scissors to trim excess fabric along the edges.
A measuring tape helps you make accurate cuts around lights and handles.
Flathead and Phillips screwdrivers help you reattach trim and accessories.
A spray bottle with water and a microfiber cloth remove dust and adhesive residue.
Work slowly to avoid cutting too much fabric. Clean the area to keep your car looking fresh.
Sometimes, you may notice wrinkles or bubbles in the suede. You can fix these issues with a few simple techniques:
Install the fabric in sections to manage it better.
Keep the fabric taut as you press it down.
If you see minor wrinkles, use a heat gun or steamer to relax the fibers.
For stubborn spots, gently lift the fabric, reapply adhesive, and press again.
Note: Always let the adhesive dry fully before reinstalling accessories. This prevents shifting and ensures a long-lasting result.
You now have a custom suede finish that adds style and comfort to your car.
You can install a suede car headliner with patience and the right approach. Here are the main steps for a successful diy project:
Remove the headliner by taking off covers and unscrewing components.
Prepare your workspace and gather all materials.
Attach the suede, cut slits, and wrap the fabric around the edges.
Cut holes for fixtures and reinstall the headliner.
To keep your new headliner looking great:
Brush the suede weekly with a soft brush or microfiber towel.
Use upholstery foam cleaner and test it on a hidden spot first.
Synthetic suede often lasts as long as leather and resists wear and tear, making it a smart diy choice.
|
Material Type |
Lifespan |
Maintenance |
Durability |
|---|---|---|---|
|
Real Suede |
Can last a lifetime with care |
Gentle handling; tough to clean |
More delicate; shows wear easily |
|
Often lasts as long as leather |
Easier to clean; can be wiped or washed |
More durable; resists wear |
Have questions or want to share your experience? Leave a comment below to help others in the community.
You need to remove the headliner board for the best results. Installing suede directly inside your car makes it hard to get a smooth finish and may cause wrinkles.
You should use a high-temperature spray adhesive made for automotive interiors. Brands like Camie 393 or 3M Headliner Adhesive work well and prevent sagging in hot weather.
Use a soft brush or microfiber cloth.
Spot-clean with upholstery foam cleaner.
Test cleaners on a hidden area first.
Suede resists stains better than many fabrics. Synthetic suede holds color well and does not fade quickly. You should avoid direct sunlight and clean spills right away.
|
Suede Type |
Pros |
Cons |
|---|---|---|
|
Real Suede |
Luxurious feel |
Harder to clean |
|
Synthetic Suede |
Easy maintenance |
Slightly less plush |
You can use either, but synthetic suede is easier to maintain.
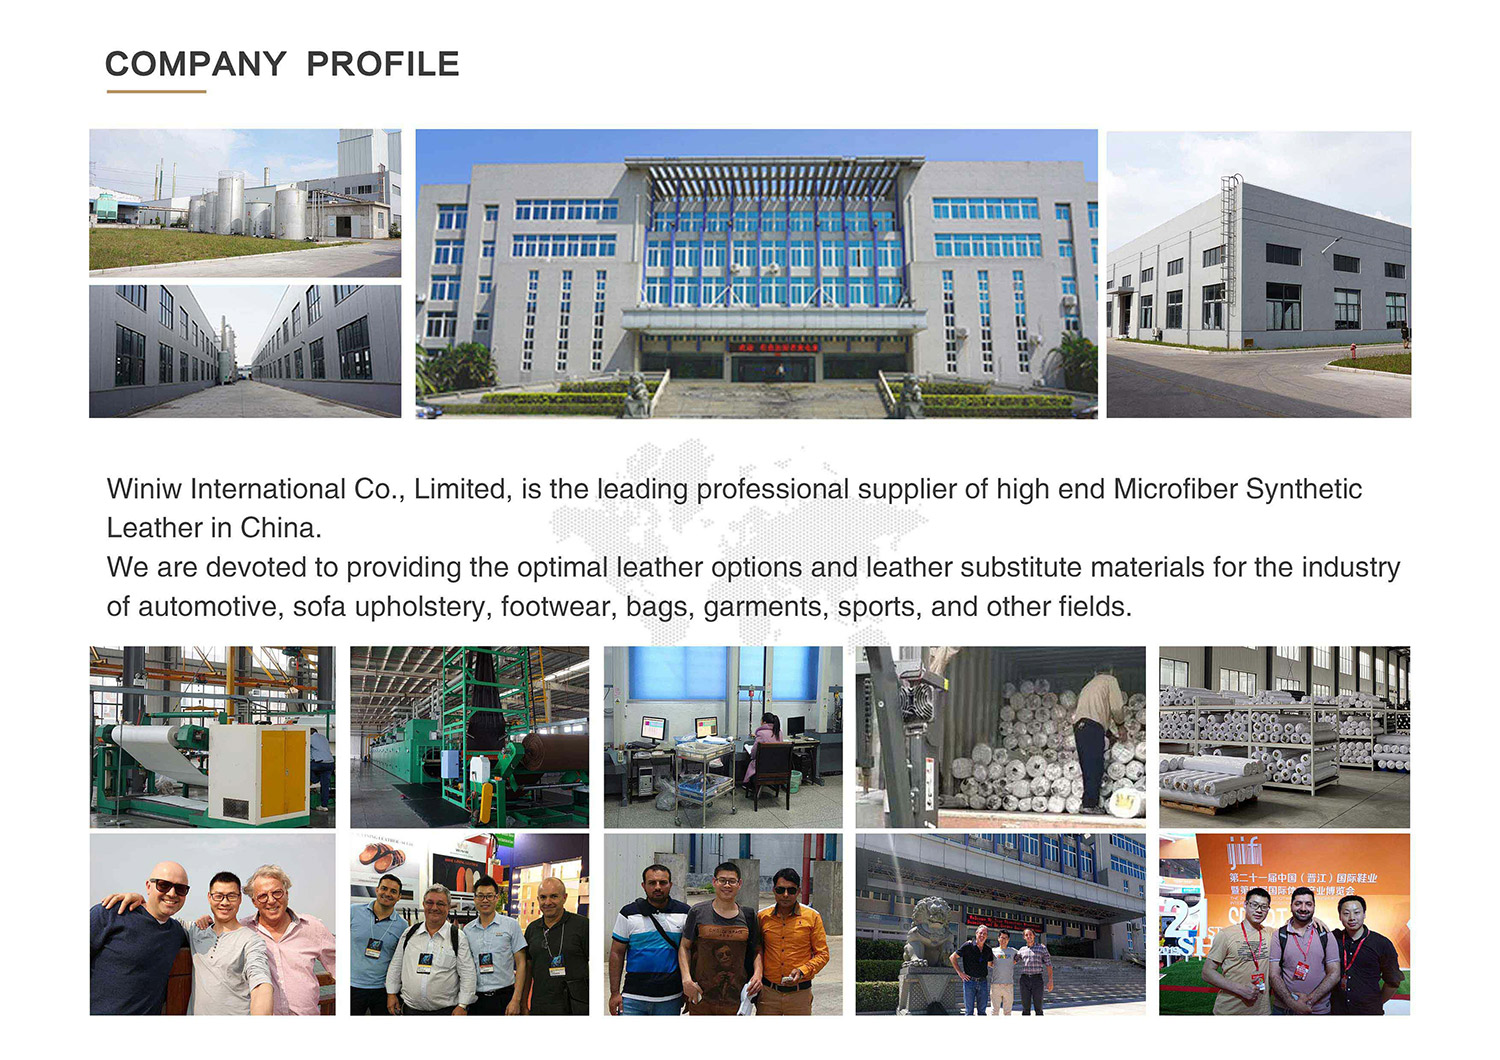
Winiw International Co.,Ltd


Scan to wechat:


 Tel : +86 18150976625
 Email : Market@MicrofiberLeather.com