You can fix a sagging car headliner yourself using simple tools. Try quick fixes like pins, screws, fabric tape, steam rollers, or staples for a fast solution. Many repairs work without removing the headliner. For a longer-lasting result, use spray adhesive or relaminate the surface. Full replacement restores the headliner completely.
Professional repair costs $500 to $1000
DIY kits cost less than $75
You can save $425 to $925 by repairing Car Head Liners at home
You can fix a sagging headliner quickly using simple tools like pins, screws, or fabric tape. These methods save time and effort.
For a longer-lasting solution, use high-temperature spray adhesives designed for automotive use. Proper preparation ensures a strong bond.
If the headliner is severely damaged, consider a full replacement. This method restores your car's interior and can be done at home with the right materials.
Always prioritize safety by wearing gloves and goggles. Work in a well-ventilated area to avoid inhaling harmful fumes.
Avoid common mistakes by taking your time and using the right materials. Rushing can lead to poor results and further damage.
You can fix minor sagging in Car Head Liners with simple tools. These quick fixes do not require removing the headliner. Most people already have these items at home or can find them at a local hardware store.
Thumbtacks or twist pins
Small screws with washers
Fabric tape
Staple gun and staples
Steam cleaner or handheld steamer
Flathead screwdriver (for tucking fabric)
Tip: Special tools may be needed if your car has a sunroof or overhead console. Always check your vehicle’s manual before starting.
When you want a longer-lasting repair, you need a strong adhesive. Automotive experts recommend using high-temperature spray adhesives to prevent sagging in Car Head Liners. The table below shows some of the top-rated adhesives for this job:
|
Rating Type |
Adhesive Name |
Link |
|---|---|---|
|
Best Overall |
3M Headliner and Fabric Adhesive |
|
|
Best Value |
Tear Mender Instant Fabric and Leather Adhesive |
|
|
Best Heavy Duty |
Permatex Body Shop Heavy Duty Headliner Adhesive |
|
|
Best All-Purpose |
Loctite General Performance 100 Spray Adhesive |
|
|
Honorable Mention |
Polymat 797 Hi Temp Spray Adhesive |
Note: Always use adhesives in a well-ventilated area and wear gloves to protect your skin.
If the headliner sags badly or the fabric peels everywhere, you may need to replace it. This process takes more time and requires extra supplies. You will need:
Replacement headliner fabric (choose a color that matches your interior)
High-temperature spray adhesive
Utility knife or sharp scissors
Scraper or stiff brush (for removing old foam)
Screwdriver set (for removing trim and headliner board)
Safety goggles and gloves
You can find most supplies in auto parts stores or online. Full replacement costs more than quick fixes, but you still save money compared to professional repairs.
Safety first: Always wear goggles and gloves when working with adhesives or sharp tools.
Sagging headliners can make your car look older and feel less comfortable. You can often fix these issues quickly without removing the headliner. The following methods help you restore Car Head Liners with minimal tools and effort.
You can use pins or small screws to secure loose fabric back to the foam. This method works best for small or localized sagging. It does not require removing the headliner.
Step-by-step instructions:
Identify the sagging area of the headliner.
Choose upholstery twist pins, thumbtacks, or small screws with washers.
Position the pins or screws where the fabric is loose.
Insert the pins or screws gently to avoid tearing the fabric.
Space them evenly for a neat appearance.
Tip: Upholstery twist pins work well because they grip the foam backing without causing permanent damage. You can remove them later if you decide on a more permanent repair.
Common causes you can address with this method:
|
Cause of Sagging Headliner |
Quick Fix |
|---|---|
|
Degradation of foam backing due to heat |
Upholstery twist pins |
|
Loss of grip of cloth on foam |
Strong adhesive sprays |
Fabric tape and staples offer another fast solution for Car Head Liners. These materials help hold the fabric in place and prevent further sagging. You do not need to remove the headliner for this fix.
How to apply fabric tape:
Cut strips of fabric tape to match the width of the sagging area.
Press the tape firmly onto the loose fabric and the headliner board.
Smooth out any wrinkles for a clean look.
How to use a staple gun:
Load the staple gun with staples.
Gently pull the sagging fabric taut.
Staple the fabric to the headliner board, spacing staples about 2 inches apart.
Tuck any excess fabric under the trim using a flathead screwdriver.
Note: Use staples only if the headliner board is sturdy. Avoid stapling near wiring or airbags.
The steam roller method helps reactivate the adhesive behind the headliner fabric. This technique works best for minor sagging and does not require removing the headliner.
Follow these steps:
Fill a handheld steamer with water and heat it up.
Hold the steamer a few inches from the sagging area.
Move the steamer in slow, circular motions to avoid over-saturating the surface.
Use a clean, soft cloth to press the fabric back into place.
Roll a small paint roller or similar tool over the area to smooth out bubbles.
Safety tip: Use minimal steam to prevent weakening the adhesive. Apply gentle pressure and avoid stretching the fabric.
Best practices for avoiding permanent damage:
Avoid over-saturating the surface with steam or cleaning products.
Apply gentle pressure to prevent stretching or tearing the fabric.
Use automotive-specific cleaners if needed.
Allow cleaners or steam to dwell briefly, but do not over-wet.
Vacuum gently with a soft brush if cleaning before repair.
These quick fixes offer a fast way to improve the look of your car’s interior. They work well for small areas and let you delay a full replacement. Most importantly, you can complete these repairs without removing the headliner, saving time and effort.
Relaminating your car headliner gives you a semi-permanent fix that lasts much longer than quick solutions. This method works best when the fabric sags in large areas but remains in good condition. You do not need to replace the entire headliner. Instead, you reattach the fabric using a strong adhesive. Many car owners choose this method because it saves money and restores the interior’s appearance.
You need a high-temperature spray adhesive for this repair. Regular glue will not hold up in the heat inside your car. Choose a product designed for automotive use. Before you start, open all doors or windows to keep the area well-ventilated. Wear gloves and safety goggles to protect yourself.
Follow these steps for best results:
Shake the spray adhesive can for at least one minute.
Hold the can 6 to 8 inches from the surface.
Spray a light, even coat on both the headliner board and the back of the fabric.
Wait 2 to 3 minutes for the adhesive to become tacky.
Avoid spraying too much glue. Excess adhesive can bleed through the fabric and leave stains.
Tip: Test the spray on a small hidden area first. This helps you check for bleed-through or discoloration.
Proper preparation ensures the adhesive bonds well. Start by removing any loose trim pieces around the headliner. In some cars, you may need to lower the headliner board slightly to reach the edges. Use a screwdriver to take off dome lights, visors, or grab handles if needed.
Clean the headliner board with a stiff brush or scraper. Remove all old foam and dust. Wipe the surface with a dry cloth. Make sure the board feels smooth and free of debris. If you skip this step, the new adhesive will not stick properly.
Note: Do not use water or harsh cleaners. Moisture can weaken the board and cause more sagging.
Once you prep the surface and apply the adhesive, you can reattach the fabric. Start at one end of the headliner. Gently press the fabric onto the board. Use your hands to smooth out wrinkles and bubbles. Work slowly to avoid stretching the material.
A small paint roller or a clean towel helps you press the fabric evenly. Move from the center outward. This technique pushes out air pockets and creates a tight bond. If you notice any loose spots, lift the fabric gently and add a bit more adhesive.
Safety tip: Do not rush this step. Take your time to get a smooth, professional look.
The lifespan of a relaminated headliner depends on the material you use. The table below shows how long different types last under normal conditions:
|
Material Type |
Lifespan Under Normal Conditions |
|---|---|
|
Foam-Backed Polyester |
15–25 years |
|
Vinyl (UV-treated) |
10–20 years |
|
Suede / Microsuede |
8–15 years |
|
Carpet-Style Polypropylene |
10–20 years |
Relaminating Car Head Liners can restore your car’s interior for many years. You get a result that looks almost new without the high cost of full replacement.
Replacing your car headliner gives you a fresh start when sagging becomes severe. You can restore the look and feel of your interior by following a step-by-step process. This method works best when quick fixes and relamination no longer solve the problem.
You start by taking out the old headliner shell. Most vehicles use clips, screws, or trim panels to hold the headliner in place. Remove dome lights, visors, and grab handles first. Use a screwdriver or trim removal tool to gently loosen the edges. Lower the headliner board with care to avoid bending or cracking it.
Tip: Work slowly and keep track of all fasteners. Label them if needed.
Common challenges you may face include:
|
Challenge |
Description |
|---|---|
|
Removal of old headliner |
You must deal with various fasteners and hidden clips. |
|
Deteriorated foam |
Old foam often crumbles and needs scraping before you add new material. |
|
Integrity of backer board |
The board can break easily if you use too much force during removal. |
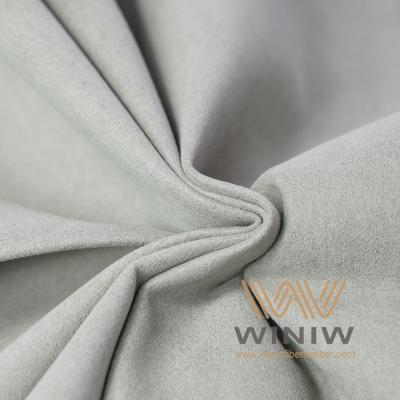
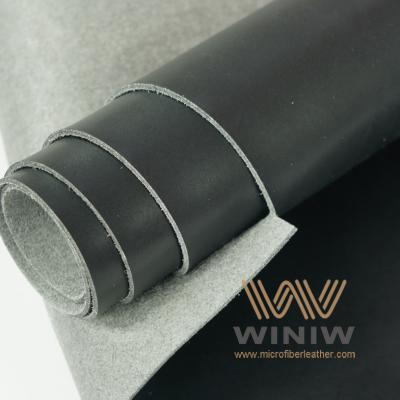
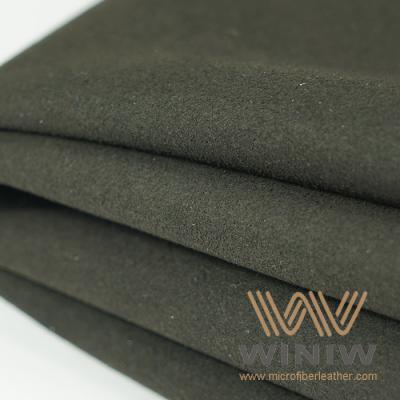
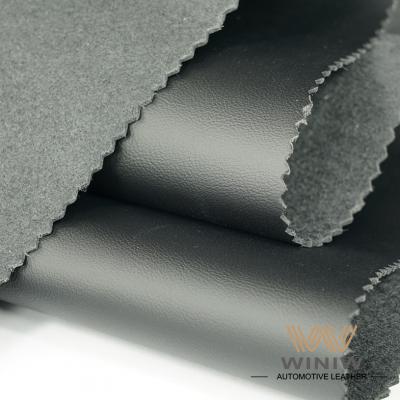
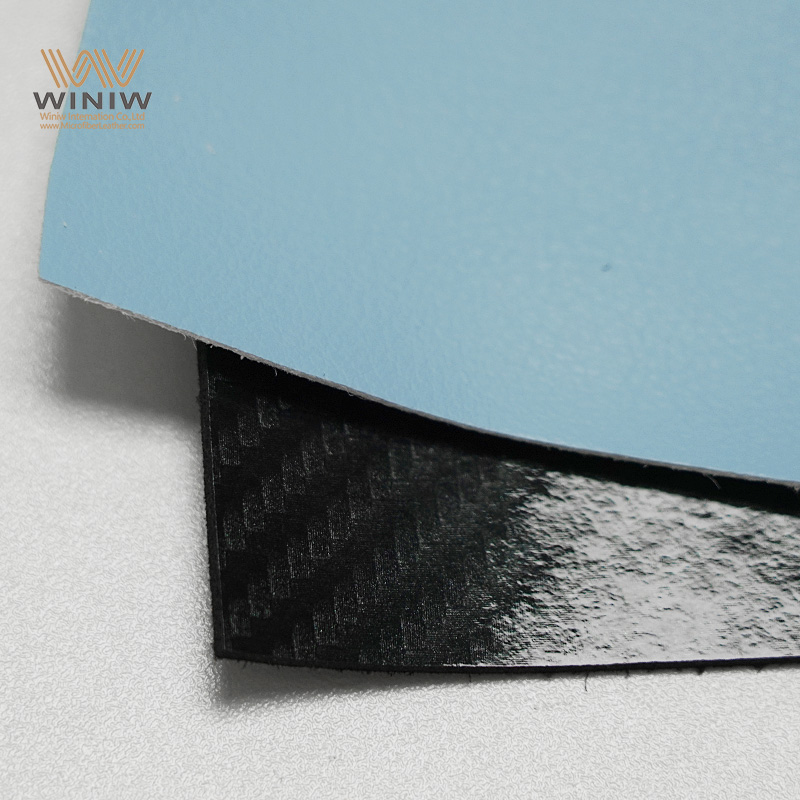
Once you remove the shell, you need to prepare it for new fabric. Scrape off any old foam using a stiff brush or scraper. Wipe the board clean and let it dry. Choose a durable fabric for the replacement. Automotive upholstery experts recommend options such as durable vinyl, cloth headliners, and faux leather. Brands like Naugahyde, Nassimi, Olympus, and AbbeyShea offer reliable choices.
Follow these steps to install new fabric:
Cut the fabric to fit the headliner board, leaving extra for edges.
Spray high-temperature adhesive on both the board and the fabric.
Wait until the adhesive feels tacky.
Press the fabric onto the board, starting from the center and moving outward.
Smooth out wrinkles and bubbles with a roller or clean towel.
Note: Use gloves and goggles to protect yourself from adhesive fumes.
After the new fabric sets, you can reinstall the headliner shell. Lift it into position and secure it with the original fasteners. Reattach trim pieces, dome lights, visors, and handles. Check for a snug fit and make sure the fabric looks smooth.
You can handle minor sagging repairs at home. If you see extensive damage or the headliner fabric will not adhere, you should seek professional help. Complete replacement is necessary when temporary fixes fail or the board breaks.
If you feel unsure about removing trim or working with adhesives, a professional can guarantee a flawless result.
You should always put safety first when working on your car’s headliner. Many people overlook important steps that protect both you and your vehicle. The table below highlights key safety measures you should follow:
|
Safety Precautions |
Description |
|---|---|
|
Remove all trim |
Take off visors, clips, and handles to prevent damage during headliner removal. |
|
Use special tools |
Some vehicles need specific tools, especially those with sunroofs or airbags. |
|
Avoid damage |
Carefully remove the headliner to prevent structural damage to the car. |
|
Wear gloves |
Protect your hands from sharp edges and adhesive. |
|
Work in a well-ventilated area |
Avoid inhaling fumes from glue or cleaning products. |
|
Follow manufacturer instructions |
Ensure proper use of adhesives and tools. |
Tip: Always disconnect the battery before you start. This step helps prevent accidental airbag deployment and protects electrical systems.
You can avoid costly mistakes by taking your time and using the right materials. Many people damage their car’s interior by rushing or skipping steps. Here are some ways to protect your car:
Disconnect the battery to prevent accidental airbag deployment.
Use proper grounding to avoid static electricity.
Handle airbags with care and store them safely.
Choose high-quality materials for a longer-lasting repair.
Remove all old foam before applying new adhesive.
Allow adhesives to dry fully before reinstalling parts.
Note: Never force trim pieces or panels. Gentle pressure prevents cracks and scratches.
You can achieve a professional result if you avoid common errors. Many DIY repairs fail because of simple mistakes. Watch out for these pitfalls:
Using the wrong adhesive, such as standard spray glue that cannot handle heat.
Failing to remove deteriorated foam before applying new fabric.
Ignoring the condition of the foam, which can cause the repair to fail.
Rushing the process, leading to sloppy results.
Not securing the headliner properly, which causes sagging.
Attempting complex repairs without the right skills or tools.
Winiw International Co.,Ltd


Scan to wechat:


 Tel : +86 18150976625
 Email : Market@MicrofiberLeather.com