You can replace a car headliner by yourself and feel proud of the results. Many car owners now choose to tackle this project at home, thanks to easy access to repair kits and online guides. People often need to replace Car Head Liners because heat from the sun causes sagging or daily use leads to stains and tears. When you do it yourself, you can save $200 to $400 or more compared to professional services. Always work in a well-ventilated area and follow each step with care for the best outcome.
Replacing your car headliner can save you $200 to $400 compared to hiring a professional.
Gather essential tools like trim removal tools, a staple gun, and a heat gun before starting the project.
Prepare your workspace by keeping it clean, organized, and well-ventilated to ensure a smooth replacement process.
Use high-quality materials, such as foam-backed fabric and automotive-grade adhesives, for a durable and professional finish.
Take your time during each step, from removing the old headliner to installing the new fabric, to avoid mistakes and achieve the best results.
Before you start to replace a headliner, you need to gather the right tools and materials. Having everything ready will make the process smoother and help you avoid mistakes.
You will use several tools to remove and install car head liners. Here is a list of what you need:
Trim removal tools: These help you safely take off the plastic trim and panels without damaging them.
Precision screwdrivers and ratchets: You need these to remove screws and bolts that hold the headliner board in place.
Staple gun: This tool secures the fabric edges, especially in tricky spots.
Fabric clamps: Use these to hold the new fabric in place while the adhesive sets.
Bristle brush or specialty headliner brush: This helps you clean the old foam and debris from the headliner board.
Heat gun: You can use this to smooth out wrinkles in the new fabric.
Roller: This tool presses the fabric onto the board for a tight fit.
Tip: Organize your tools before you begin. This saves time and reduces stress during the project.
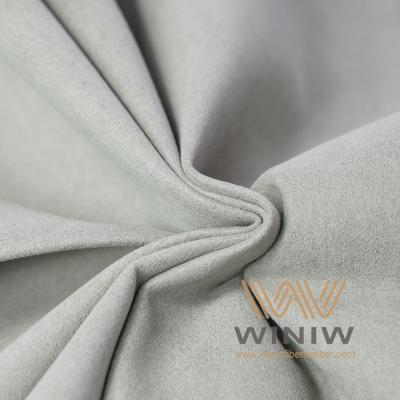
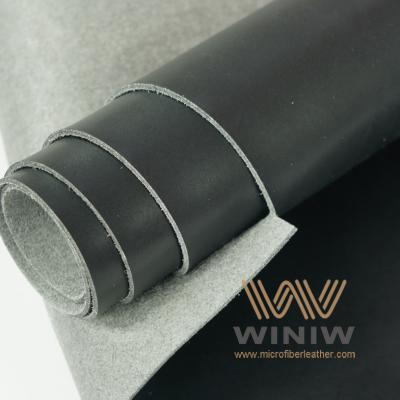
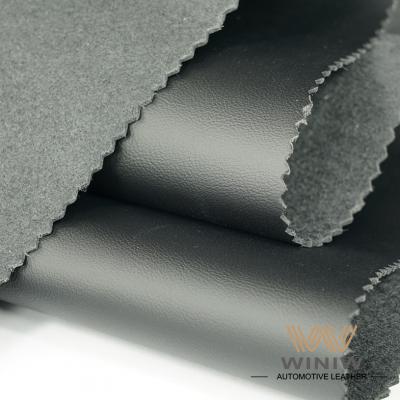
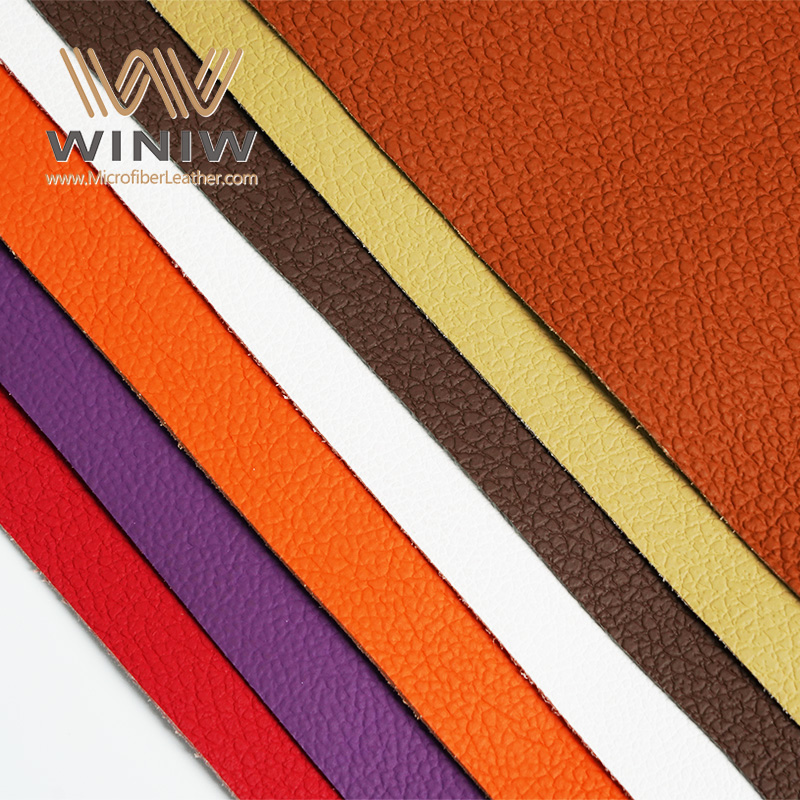
Choosing the right materials ensures your car headliner lasts. Here are the main items you will need:
|
Material |
Purpose |
|---|---|
|
Provides a smooth, professional look and resists sagging |
|
|
Automotive-grade adhesives |
Bonds the fabric to the board securely |
|
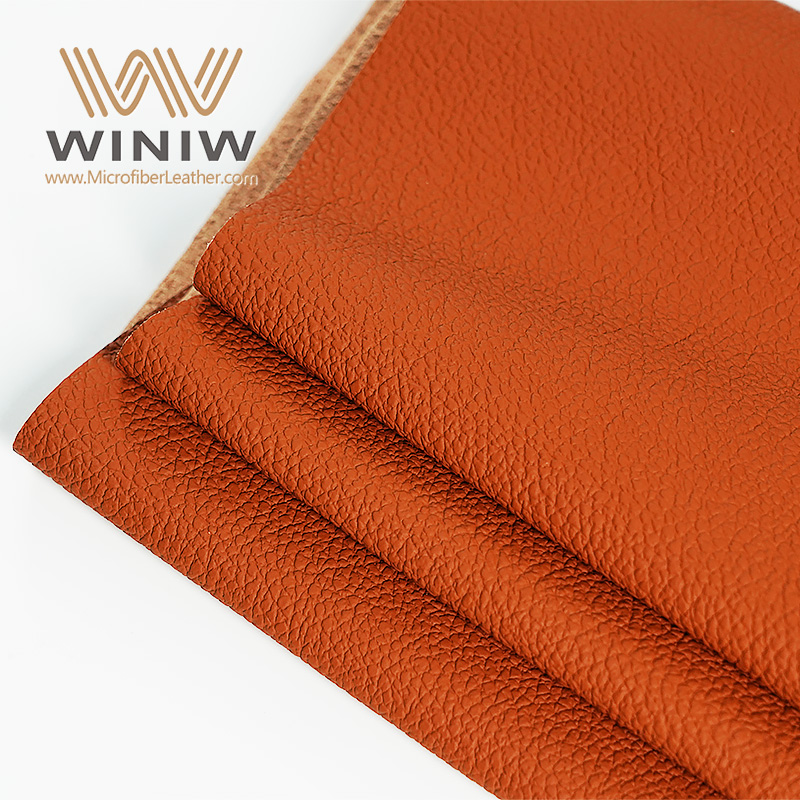
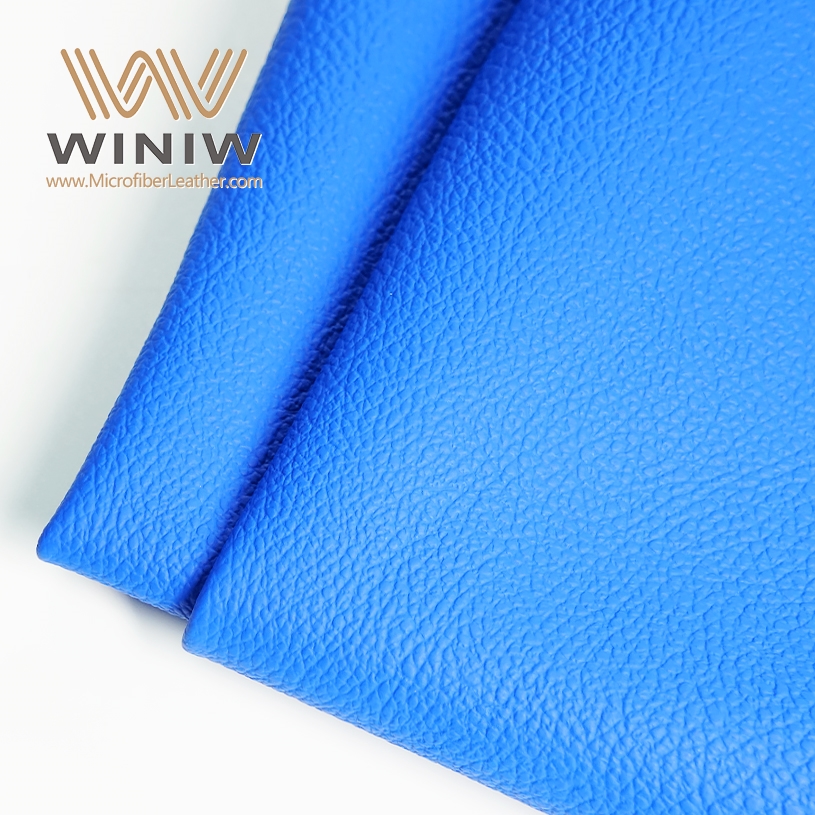
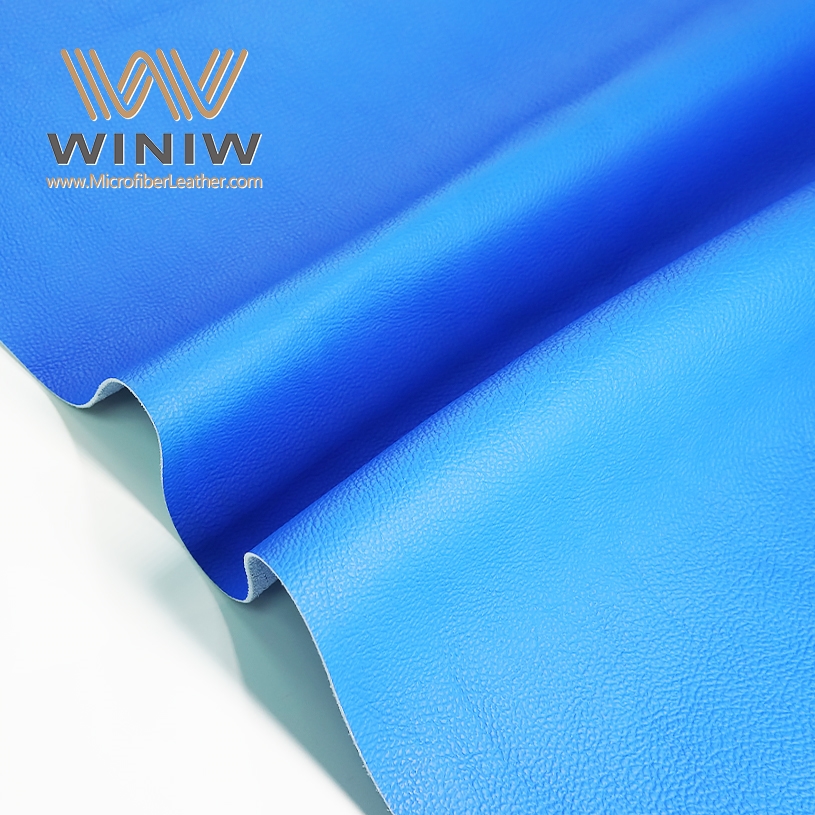
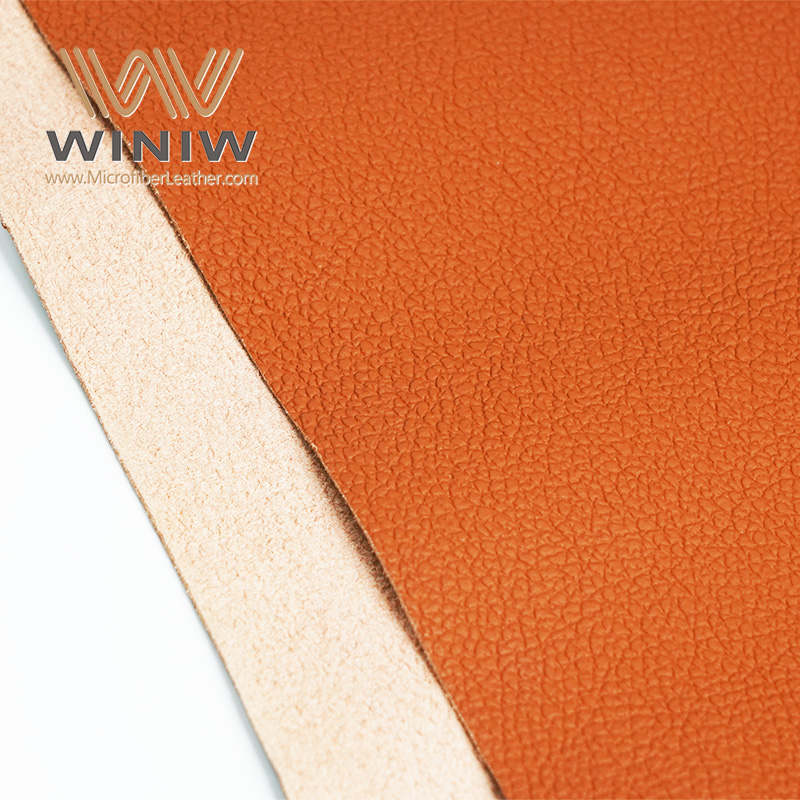
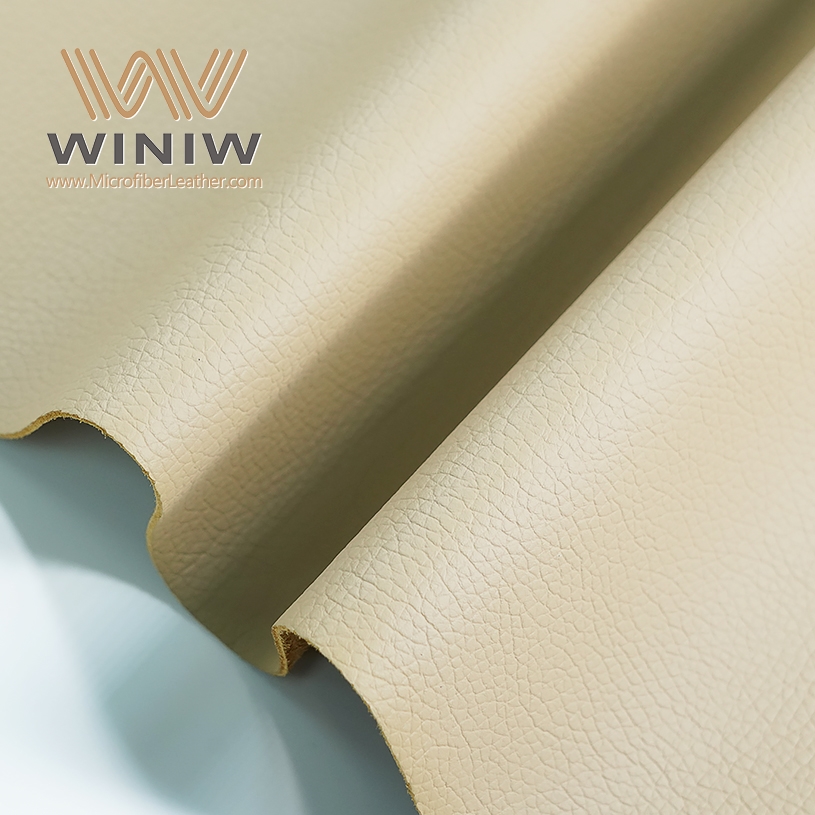
Durable, resists stains, mold, and mildew; easy to shape and install |
|
|
Foam-backed vinyl headliner |
Brightens interiors, often used in RVs |
Many car owners prefer 3M 1300 or Pliobond 25 adhesives because they offer strong, long-lasting bonds. Aerosol cans may not hold up as well over time. When you select your fabric, look for options that resist stains and mold. Carpet style headliners work well for most vehicles and last a long time.
With these tools and materials, you can confidently tackle your car headliner project.

You need a clean and organized workspace before you begin headliner replacement. Park your vehicle in a shaded area or garage to avoid direct sunlight. Open all doors to allow fresh air to circulate. Gather all tools and materials for car head liners and place them within easy reach. Lay down a drop cloth or old sheet to protect your seats and floor from dust and adhesive. Good lighting helps you see every detail and prevents mistakes.
Tip: Keep small parts like screws and clips in labeled containers. This makes reassembly easier and prevents loss.
Safety should always come first when you replace a headliner. Automotive professionals recommend several precautions to protect you and your vehicle. Review the table below for important steps:
|
Safety Precautions |
Description |
|---|---|
|
Remove all trim |
Take off visors, clips, and handles to prevent damage during headliner removal. |
|
Use special tools |
Some vehicles need specific tools, especially those with sunroofs or airbags. |
|
Avoid damage |
Carefully remove the headliner to prevent structural damage to the car. |
Wear gloves to protect your hands from sharp edges and adhesive. Work in a well-ventilated area to avoid inhaling fumes from glue or cleaning products. Always follow manufacturer instructions for adhesives and tools.
You must remove several accessories before you can access the car headliner. Start by taking off trim panels, sun visors, seat belts, overhead lights, and speakers. Use trim removal tools and screwdrivers to avoid breaking plastic parts. This process usually takes about 30 to 60 minutes, depending on your vehicle. Removing these items gives you clear access to the headliner board and prevents accidental damage.
Note: Take photos during each step. These images help you remember where each accessory belongs during reassembly.
Careful preparation ensures a smooth headliner replacement and protects your car’s interior.
Replacing a car headliner may seem challenging, but you can achieve professional results by following a clear, step-by-step process. This section will guide you through removing the old headliner, cleaning the board, installing the new fabric, and reassembling everything for a secure fit.
Start by carefully removing the old headliner from your vehicle. You already removed accessories like visors and trim, so now you can gently lower the headliner board. Disconnect any electrical components, such as dome lights or sensors, before taking the board out of the car.
Many people encounter common challenges during this step:
The adhesive often fails because the padding deteriorates, leaving a powdery surface that will not hold new fabric.
Staples used in previous repairs may not last and can fall out quickly.
Sometimes, the fabric separates from the foam, making removal messy and tedious.
Tip: Take your time when removing the old headliner. Rushing can damage the board, making it harder to reuse.
After removing the headliner, you will likely face the task of scraping off foam and glue residue. Use a bristle brush or a plastic scraper for this job. If you find stubborn glue, acetone can help dissolve it, but always test a small area first to avoid damaging the board. Some people try a wire wheel for tough spots, but this can get messy. Avoid using a soft drill brush, as it may not remove all the adhesive.

A clean headliner board is essential for a successful installation. Any leftover foam or adhesive can prevent the new fabric from sticking properly. Follow these steps for best results:
Select an upholstery or interior foam cleaner designed for automotive use.
Test the cleaner on a hidden section of the board to check for discoloration.
Spray the cleaner onto a brush or towel, not directly onto the board.
Use gentle, circular motions with light pressure to lift dirt and residue.
Blot away any excess moisture with a dry microfiber towel.
Allow the board to air-dry completely before moving on.
Note: Surface preparation is crucial. If the board remains powdery or sticky, no adhesive will work effectively.
Now you are ready to install the new fabric. Lay the new material flat and measure it against the headliner board, leaving a few extra inches on each side. Cut the fabric to size.
Choose a high-quality adhesive, such as 3M heavy duty contact spray or 3M 77. These products allow you to reposition the fabric during application and provide a strong, lasting bond. Always follow the adhesive manufacturer's instructions for best results.
Here is a step-by-step guide for installing the new headliner:
Spray adhesive evenly on both the board and the back of the fabric.
Wait until the adhesive becomes tacky to the touch.
Starting from the center, press the fabric onto the board, smoothing outward to avoid wrinkles.
Use a roller to press the fabric firmly onto the board.
For corners and curves, stretch the fabric gently and secure it with clamps or binder clips.
Use a heat gun on low to smooth out any wrinkles, but keep it moving to avoid damaging the fabric.
Trim excess fabric with a razor or utility knife, creating clean edges.
Tip: Do not use home remedies like hairspray, pins, or staples to secure the fabric. These methods do not last and can cause a damaged headliner.
Once the adhesive has dried and the fabric is secure, you can reinstall the headliner board in your car. Carefully lift the board into place, making sure not to bend or crease it. Reconnect any electrical components, such as lights or sensors.
Secure the headliner by attaching the trim, visors, and other accessories in the reverse order you removed them. Start with the front and back, then move to the sides. For a tight fit, stretch the fabric gently as you secure each section. If your car uses retaining rods or windlace, insert them in the correct order.
Use a razor to cut small holes for screws and mounting points. Take care to avoid tearing the new fabric. Once everything is in place, check for sagging or loose spots. If you notice any issues, press the fabric back into place and allow more time for the adhesive to set.
|
Cause of Sagging |
How to Prevent It |
|---|---|
|
Heat and sunlight |
Park in the shade and use a sunshade to protect your car headliner. |
|
Moisture |
Check rubber seals and avoid leaks to prevent moisture damage. |
|
Poor installation |
Use enough adhesive and proper techniques during headliner replacement. |
|
Physical strain |
Keep children and pets from pulling on the headliner to avoid future sagging. |
Note: Allow the adhesive to cure for at least 24 hours before exposing your car to heat or moisture. This helps prevent sagging and ensures a long-lasting result.
By following these steps, you can replace a headliner and restore your car’s interior. With patience and attention to detail, your car head liners will look and perform like new.
You can avoid many problems if you know what to watch for during a car headliner replacement. Here are the most frequent mistakes people make:
You ignore early signs of damage, such as sagging or stains.
You use cleaning methods that harm the fabric.
You skip proper preparation before starting repairs.
You rush the process, which leads to poor results.
You choose low-quality materials that do not last.
You overlook structural issues that can get worse over time.
You fail to secure the headliner, causing future sagging.
You do not allow adhesives to dry fully.
You try complex repairs without enough skill.
You skip regular maintenance and miss early problems.
You avoid seeking professional help when needed.
Tip: Take your time and follow each step carefully. Good preparation and patience help you avoid most mistakes.
You can achieve a professional finish with a few expert strategies:
Keep your car out of direct sunlight and extreme heat. This protects adhesives and fabric from breaking down.
Select high-quality spray adhesives and foam-backed fabric. These materials create a strong bond and prevent sagging.
After scraping off old foam, lay the new fabric flat on the board. Smooth it out and check for folds or wrinkles. A smooth surface gives your car head liners a clean look.
Use a roller to press the fabric evenly. This prevents bubbles and helps the adhesive set properly.
Allow the adhesive to cure for at least 24 hours before reinstalling the headliner.
“When you set the replacement headliner fabric on the board, spread it out flatly to make it as smooth as possible. Watch for folds, as these can make your headliner look wrinkly and malformed.”
Sometimes you need professional assistance to fix your car headliner. You should seek help if you notice any of these signs:
The headliner shows damage.
The headliner hangs or droops.
If you face complex repairs or cannot secure the headliner properly, a professional can restore your car’s interior and prevent further issues.
You can replace your car headliner by following a clear process: assess the damage, gather quality materials, and work step by step. Use strong adhesive and spread the fabric flat to avoid wrinkles. Take your time for a smooth finish. After installation, keep your car parked in the shade and clean the headliner gently to extend its life. If you face challenges, do not hesitate to seek professional help. Patience and attention to detail will help you achieve lasting results.
You can usually finish a headliner replacement in three to five hours. The time depends on your vehicle and your experience. Preparation and careful work help you avoid mistakes.
Yes, you can reuse the old board if it stays in good shape. Clean it well and remove all old foam and glue. Damaged or broken boards may need replacement.
You should use a high-quality spray adhesive made for automotive interiors. Brands like 3M or Permatex offer strong, lasting bonds. Avoid regular household glues because they do not hold up to heat or moisture.
Wait at least 24 hours before driving. This gives the adhesive time to cure and prevents sagging or shifting.
Tip: Keep your windows cracked open to help the adhesive dry faster.
Winiw International Co.,Ltd


Scan to wechat:


 Tel : +86 18150976625
 Email : Market@MicrofiberLeather.com