How to Cut and Craft Glitter Faux Leather for Beginners
Oct 31 , 2025
You can start crafting with Glitter Faux Leather easily when you follow the right steps. This material gives you many creative ways to make unique projects. Use the correct tools and learn about the different types of faux leather. With a little practice, you will see great results.
How to Cut and Craft Glitter Faux Leather for Beginners
Choose the right type of glitter faux leather for your project. Smooth, chunky, or different backings affect the outcome.
Use essential tools like a utility knife and self-healing mat for clean cuts. Investing in quality tools leads to better results.
Always test your cutting settings on a small piece before starting your main project. This helps avoid mistakes and saves material.
Glitter Faux Leather Basics
Types and Backings
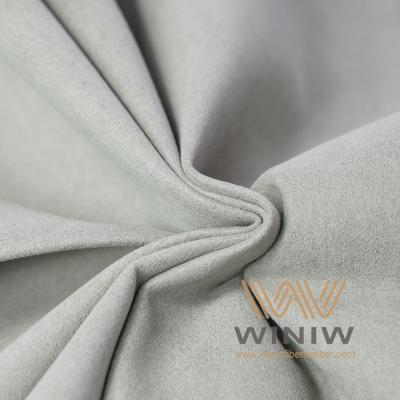
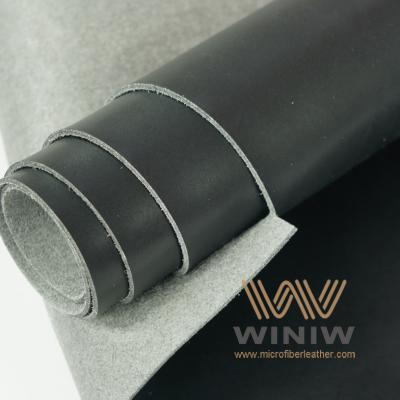
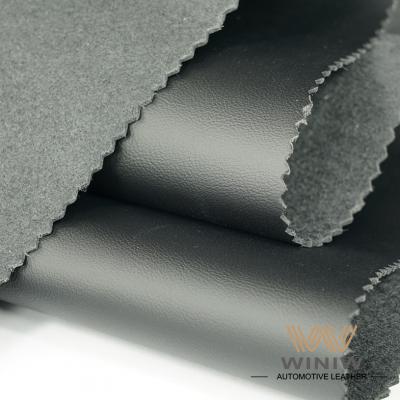
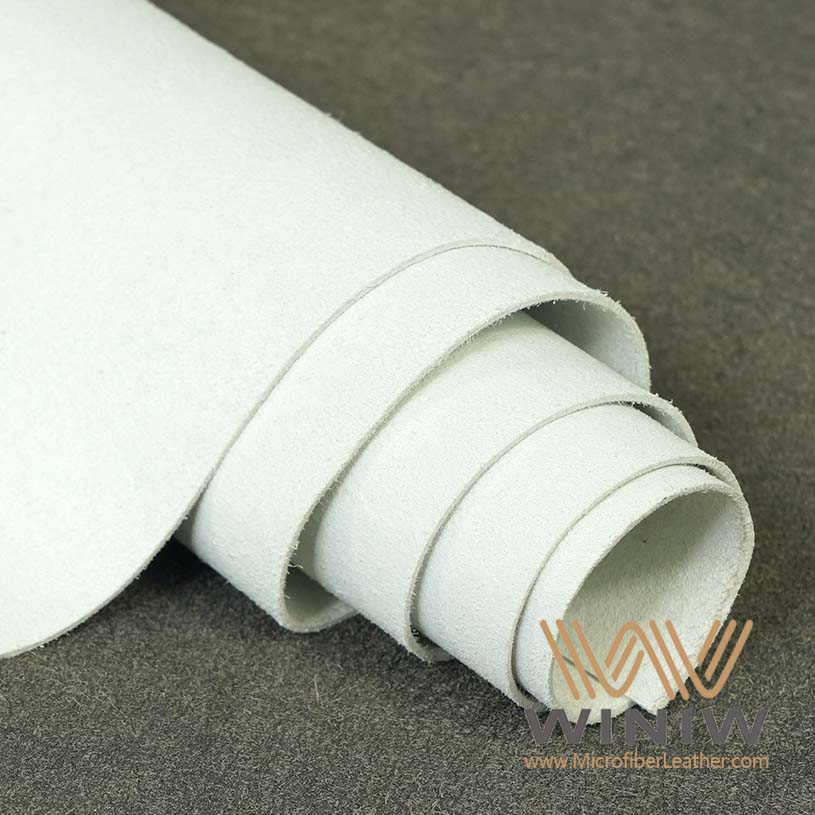
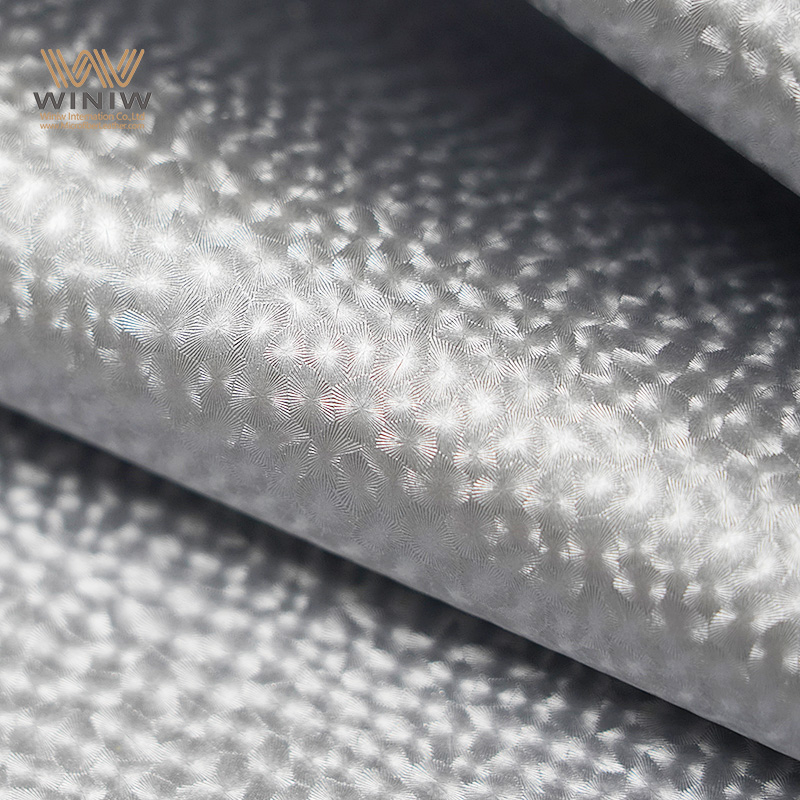
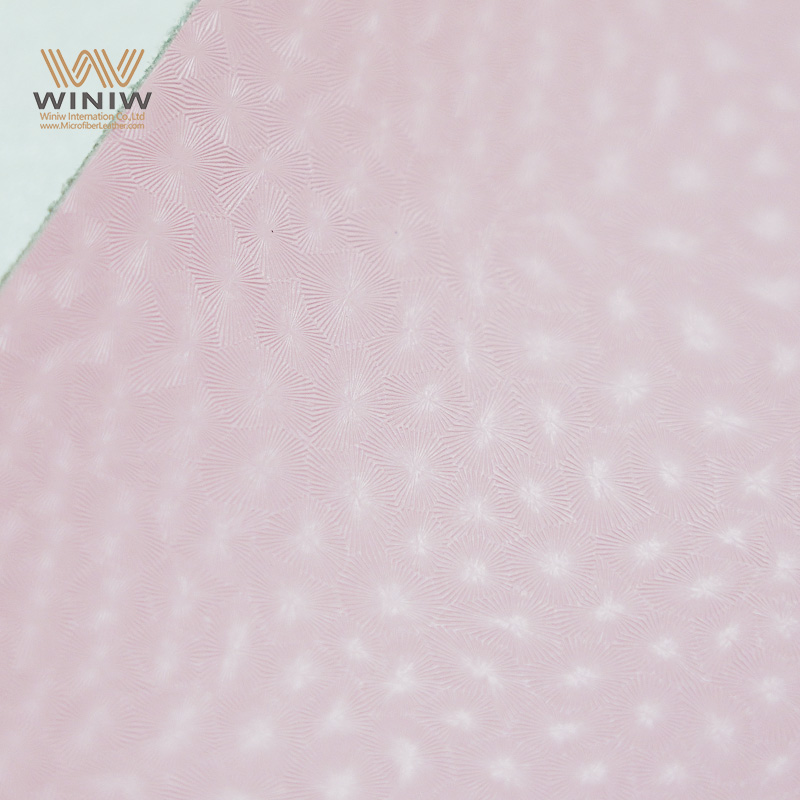
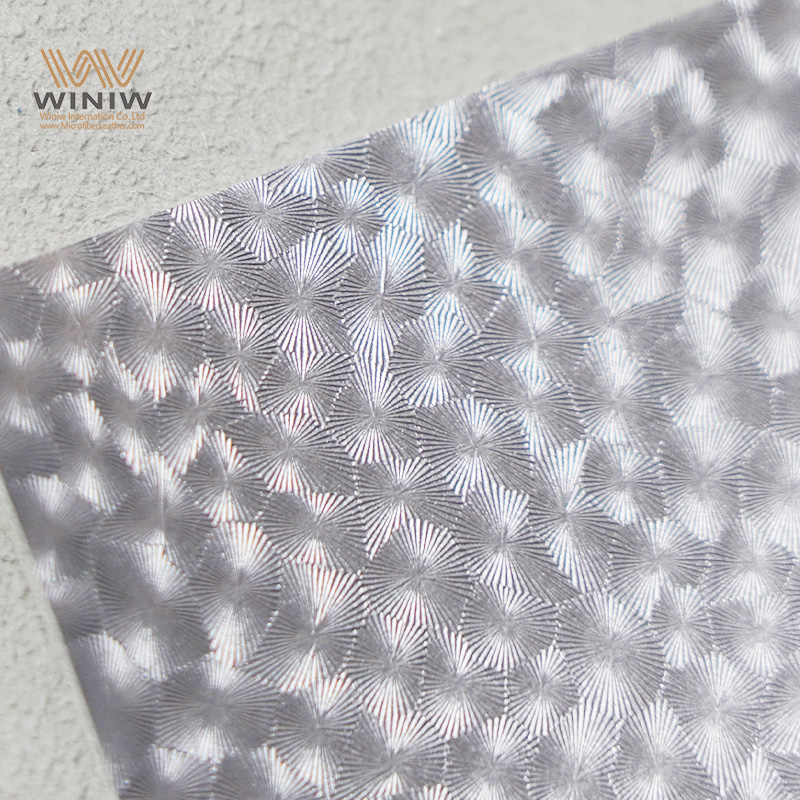
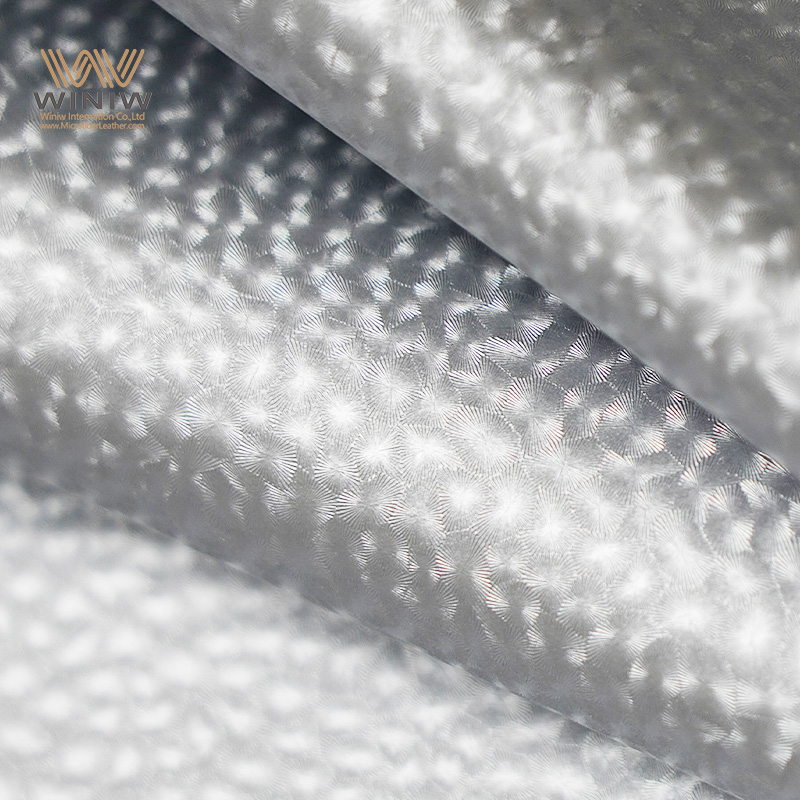
You will find several types of glitter faux leather when you start crafting. Some sheets have a smooth, flexible feel, while others use a chunky glitter surface that adds extra sparkle. Most glitter faux leather comes with a fabric or canvas backing. This backing gives the material strength and helps you cut clean shapes. You should check the backing before you begin your project. Canvas-backed glitter faux leather works well for earrings and bows. Felt-backed sheets suit projects that need more structure. Vinyl-backed options resist fraying and make cleaning easier.
Tip: Always test a small piece of glitter faux leather before you cut your main project. This helps you avoid mistakes and saves material.
Essential Tools for Beginners
You need the right tools to work with glitter faux leather. Each tool serves a specific purpose and makes your crafting process smoother.
Utility knife: Cuts glitter faux leather easily and costs little.
Precision knife (X-acto): Makes small, detailed cuts for fine designs.
Rotary cutter: Slices straight lines quickly, especially on thick sheets.
Self-healing mat: Protects your table and helps you measure with built-in rulers.
Awl: Punches holes and roughs up surfaces for better glue grip.
Punch set: Adds holes for hardware and creates design accents.
Wooden or rubber mallet: Sets hardware and works with leather tools without causing damage.
You can start with basic tools at a low cost. The table below shows the average price range for beginner supplies:
Tool
Cost Range
Sharp knife
$0 - $4
Needles
$10
Stitching pony
$34
Stitching chisels
$32 - $45
You will find that investing in quality tools helps you achieve cleaner cuts and better results with glitter faux leather.
Cutting Glitter Faux Leather with Cricut and Silhouette
Preparing Material for Cutting
You need to prepare your glitter faux leather before you use cutting machines. Start by choosing the right sheet for your project. Place the glitter side down on your mat to prevent shedding and protect the surface. Use a Purple StrongGrip Mat for better adhesion. Secure the edges with painters tape to keep the material from shifting. If you want extra protection, you can use transfer tape or press n seal over the mat. This helps keep glitter from sticking and makes cleanup easier.
Use a rotary blade set to Denim for thick glitter faux leather. Adjust to LESS pressure for thinner sheets.
For fine point blades, select light or medium cardstock settings. Run the machine twice for detailed designs.
On the silhouette cameo, use the autoblade at depth 10, force between 12 and 16, and speed at 1 or 2. This gives you clean cuts.
Avoid rotary blades for small details. They can shred the material.
Tip: Always test a small piece before you cut your main design. This saves material and helps you find the best settings.
Cricut Settings and Techniques
You can use cricut machines to cut both fine glitter canvas and chunky glitter faux leather. The settings you choose depend on the type of material. Fine glitter canvas has a thin woven backing and cuts easily. Chunky glitter faux leather has a thick twill backing and may fray or shed more.
Material Type
Design Space Category
Setting
Blade
Pressure
Mat Type
Shimmer/Fine Glitter
Fabric
Denim, Bonded
Fine Point Blade
Default
Strong Grip/Fabric
Chunky Glitter Fabrics
Fabric
Denim, Bonded
Fine Point Blade
More Pressure
Strong Grip/Fabric
You should place the glitter side down and use painters tape to secure the edges. This prevents shifting and helps you get accurate cuts. The Purple StrongGrip Mat works best for glitter faux leather. If you want to keep your mat clean, add a layer of transfer tape or press n seal before placing the material.
Note: Cricut Maker is easy to use for beginners. You can start cutting right away. Some users mention software issues, but most hobbyists find the machine reliable for glitter projects.
Run the machine twice for intricate designs. If you use the rotary blade, stick to simple shapes. Intricate cuts may not work well with this blade.
Silhouette Cameo Setup
Silhouette cameo machines offer advanced features for glitter faux leather. You can use matless cutting for larger projects. Beginners may need extra time to learn the software, but the results are worth it.
Blade Depth
Speed
Force
Passes
10
1
22
2
Blade Depth
Force
Passes
9
30
2-3
11
N/A
2
Set the blade depth to 10, speed to 1, and force to 22 for most glitter faux leather. Run two passes for clean cuts. For thicker sheets, use blade depth 9 and force 30, with two to three passes. Always lock the blade in place before you start.
You can use press n seal or transfer tape to protect your mat. Press n seal leaves no residue and makes transferring designs easy. However, it feels flimsy compared to regular transfer tape. Reverse weeding with press n seal can be tricky, so stick to traditional weeding for best results.
Tip: Silhouette cameo works well for matless cutting. This helps with larger glitter projects and saves time.
Troubleshooting and Mistakes
You may face problems when you cut glitter faux leather. Incorrect settings can cause uneven cuts or damage the material. If the machine cuts too deep, you may see fraying or holes. If the cut is too shallow, the design will not separate cleanly.
Always check your blade installation. Lock it in place before you start.
Replace your cutting mat every two to three years to keep blades sharp and get clean cuts.
Clean your mat after each use. Brush off lint and fibers with a soft brush. Soak the mat in cool water with vinegar for 15 minutes, then rinse and air-dry flat.
Use a rubber eraser to remove fluff and keep the mat sticky.
Store your mat flat to avoid warping.
Alert: Glitter can shed during cutting. Place the glitter side down and use transfer tape or press n seal to protect your mat. This keeps your workspace clean and prevents glitter from sticking to the machine.
Cricut and silhouette machines both work well for glitter faux leather. Cricut is user-friendly and great for beginners. Silhouette cameo offers more advanced features but may take longer to learn. Both machines need proper settings and mat protection for best results.
You will notice that fine glitter canvas cuts more easily than chunky glitter faux leather. Chunky sheets may fray or shed more, so use extra passes and higher pressure. Always test your settings before you start a big project.
Note: Regular cleaning and maintenance help your cutting machines last longer. Clean your mat after each project and replace it when it loses stickiness.
Start your crafting journey with a simple Dollar Tree faux leather project:
Gather faux leather and a wooden mason jar.
Prepare and sand the jar.
Attach faux leather with adhesive spray.
Trim and decorate as you like.
"Every artist was first an amateur." – Ralph Waldo Emerson
FAQ
How do you keep faux leather from shedding glitter during cutting?
Place faux leather glitter side down on your mat. Use transfer tape or press n seal to protect your mat and reduce glitter mess.
Can you cut faux leather with regular scissors?
You can cut faux leather with sharp scissors for simple shapes. For detailed designs, use a utility knife or cutting machine for cleaner edges.
What is the best way to store faux leather sheets?
Store faux leather sheets flat in a cool, dry place. Avoid folding them. Use zip bags or folders to keep dust and moisture away.
Tip: Label each faux leather type for easy project planning.
Use a table to organize your faux leather collection:


 Tel : +86 18150976625
 Email : Market@MicrofiberLeather.com