
If you notice your car headliner starting to sag or look worn, you can fix it yourself with basic tools. You save a significant amount of money—DIY repairs usually cost between $30 and $100, while professional services often range from $200 to $1000 or more. Car Head Liners look much better after a simple repair.
|
Service Type |
DIY Cost |
Professional Cost |
|---|---|---|
|
Headliner Reattachment |
$30 – $80 |
$200 – $600 |
You can save money by fixing your car headliner yourself. DIY repairs cost between $30 and $100, while professional services can exceed $200.
Gather essential tools like screwdrivers, adhesive, and foam-backed fabric before starting. Proper preparation leads to better results.
Follow each step carefully, from removing the old headliner to applying adhesive. Patience and attention to detail ensure a smooth finish.
You often see car head liners sagging after several years. Heat exposure, moisture, and aging materials cause most problems. The adhesive holding the fabric weakens when your car sits in the sun or faces humid conditions. The following table shows the main factors that lead to sagging:
|
Factor |
Description |
|---|---|
|
Heat Exposure |
Prolonged heat causes adhesive failure, making the fabric droop. |
|
Moisture |
Humidity weakens adhesive bonds and can promote mold growth. |
|
Aging |
Materials degrade over time, leading to sagging and foam deterioration. |
|
UV Rays |
Sun exposure breaks down adhesives, causing the liner to separate. |
|
Adhesive Quality |
Poor adhesives fail faster, especially in harsh climates. |
|
Material Choice |
High-quality materials resist sagging longer than cheaper options. |
You may wonder if a quick fix is enough or if you should replace a headliner. Quick fixes work well for minor sagging or older cars. These solutions cost less and take less time. Many drivers choose quick fixes when headliner replacement costs more than the car’s value. Professional repairs can reach $500, so DIY methods save money. Quick fixes suit small areas, but they may not last as long as full repairs.
Quick fixes save money and time.
Full replacement is expensive and may not suit older vehicles.
Professional services cost much more than DIY solutions.
You need to decide whether to repair or replace your car headliner based on its condition. If the material only sags in one spot or shows minor wear, a repair makes sense. When you see foam crumbling, water stains, or large areas detaching, headliner replacement is the better choice. The table below helps you judge your situation:
|
Criteria |
Description |
|---|---|
|
Condition of headliner material |
Can you fix small damage, or is the material beyond repair? |
|
Complexity of disassembly |
Is it easy to remove the liner, or does it require special tools and effort? |
|
Quality of options |
Do repair methods offer lasting results, or is replacement the best solution? |
You improve your car’s appearance and comfort when you address these problems early. Car head liners last longer with regular care and prompt attention to damage.
You need the right tools and materials before you start to replace a headliner. Gather these items to make the process easier:
Screwdrivers (Phillips and flathead)
Trim removal tools
Utility knife or scissors
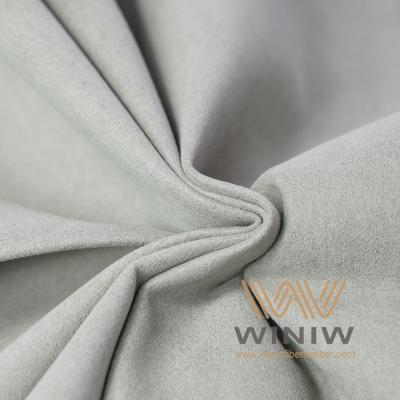
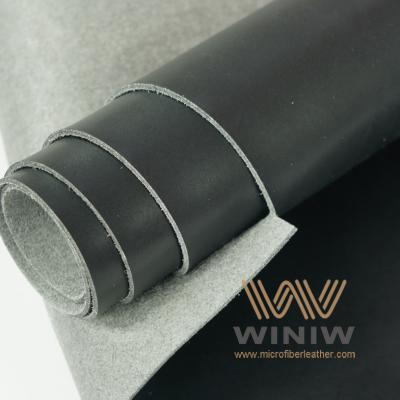
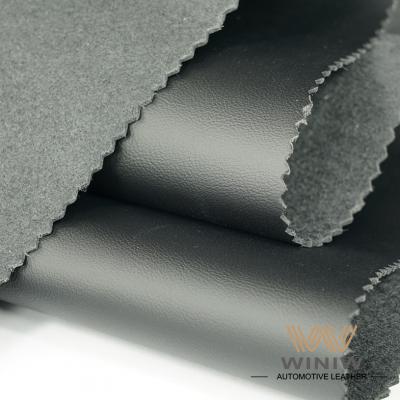
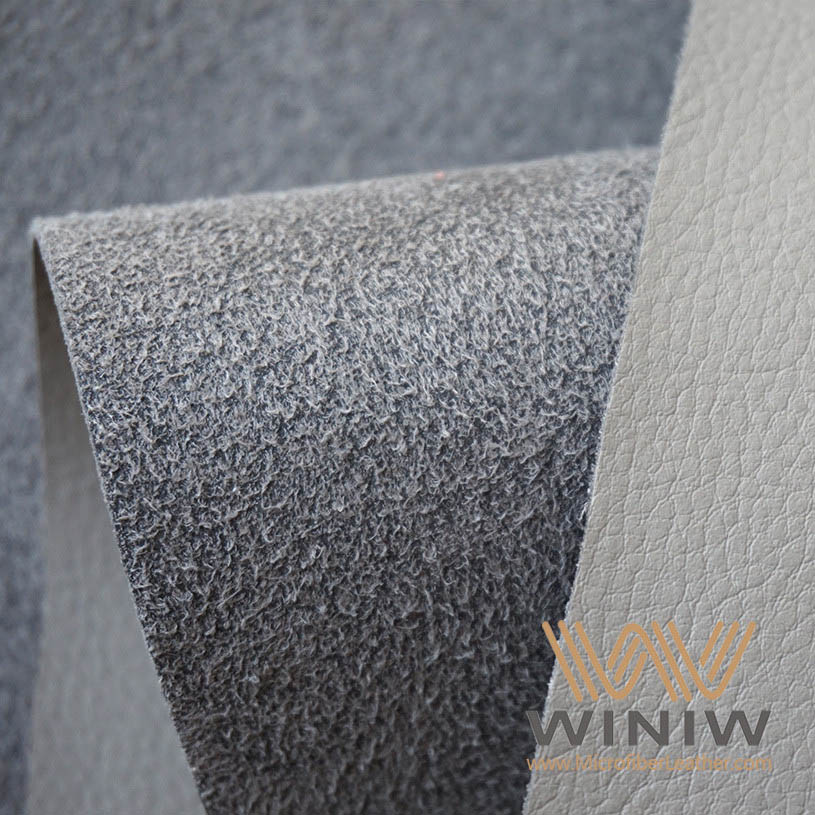
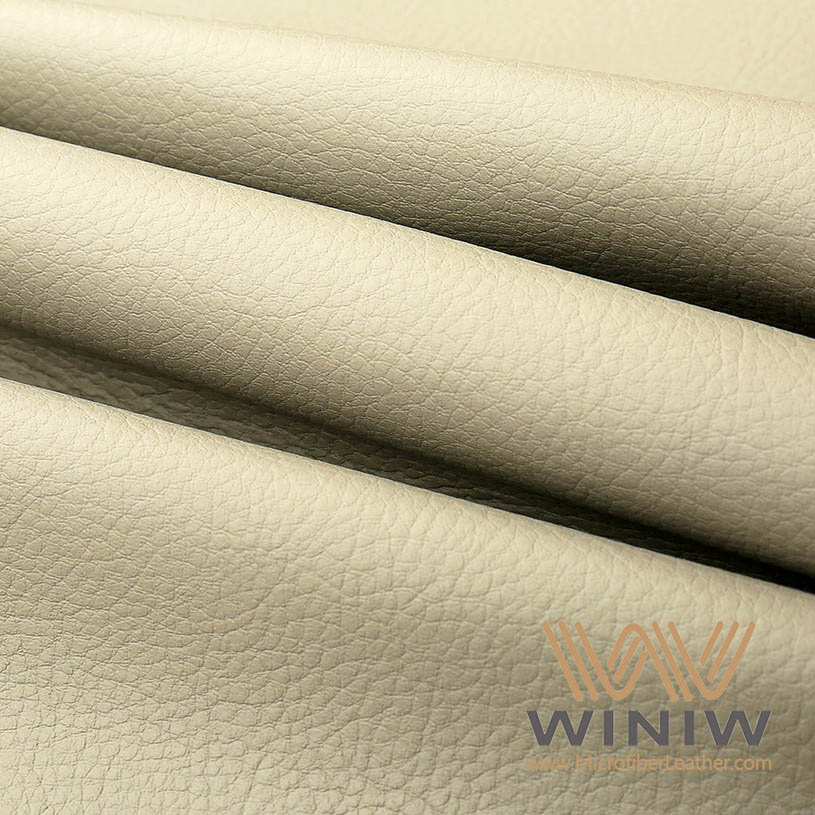
Foam-backed headliner fabric (3/16" foam backing is durable and comes in many colors)
Spray adhesive (3M™ Headliner Adhesive is a popular choice)
Microfiber towels
Brush for cleaning
Butcher paper or thin cardboard (for templates)
Safety gloves and goggles
A durable foam-backed headliner fabric resists sagging and lasts longer. You improve your results by using high-quality adhesive and tools.
Prepare your workspace before you begin. Park your car in a shaded, dry area. Cover the seats and dashboard to protect them from dust and glue. Wear gloves and goggles to keep your hands and eyes safe.
Remove any personal items from the car. Take photos of wire connections and hardware before disassembly. This helps you remember where everything goes when you reinstall parts. Cut the new headliner fabric to size, leaving extra material for adjustments.
Removing the old headliner takes patience. The process is tedious but not complex. You should ask a friend to help because the headliner board can be heavy.
Pop off plastic panels and lower door trim.
Remove sun visors, dome lights, and any clips holding the headliner.
Wiggle the headliner loose without removing glass.
Thread the headliner board out through the passenger footwell or hatchback.
Watch online videos for guidance if you feel unsure. You may need several attempts to maneuver the board out of the car. Removing the old headliner is a key step in fixing car head liners.
After removing the old headliner, you must clean the board. Old foam and glue can cause problems if left behind. Follow these steps for best results:
Select an upholstery or interior foam cleaner made for automotive fabrics.
Test the cleaner on a hidden spot to check for discoloration.
Spray foam cleaner onto a brush or towel, not directly on the board.
Use gentle, circular motions with light pressure to lift dirt and foam.
Blot away residue with a dry microfiber towel.
Let the board air-dry with good airflow.
Clean the board thoroughly to ensure the new headliner fabric sticks well. This step prevents future sagging and keeps car head liners looking fresh.
Choose a strong adhesive for car headliner installation. 3M™ Headliner Adhesive works well and dries in 30 to 60 minutes. Apply two coats to the board and one coat to the fabric. Let the adhesive become tacky before attaching the fabric. Wait about 10 minutes after spraying the board and 5 minutes after spraying the fabric.
|
Adhesive Type |
Drying Time |
|---|---|
|
3M™ Headliner Adhesive |
30 to 60 minutes |
Patience during this step helps you avoid bubbles and sagging.
Start installing the new headliner fabric by laying it over the board. Smooth out wrinkles and align the nap or patterns for a consistent look. Fold half the fabric back to expose the board. Apply adhesive to both surfaces and let it get tacky.
Tip: Begin pressing the fabric from the center and work outward. This method prevents air bubbles and ensures a smooth finish.
Cut holes for sunroofs, lights, and accessories. Trim excess fabric before reinstalling the board. Maintain the same nap direction across all panels to avoid color mismatches. Brush suede or knit surfaces to check for shade shifts.
Reinstalling the headliner board can be tricky. Align the board gently without forcing it. Ask someone to help hold the board steady. Inspect the installation for loose areas or gaps.
Modern vehicles may have airbags and electronics that complicate the process. Document wire connections with photos to make reassembly easier. Replace old foam and fabric if needed. Use spray glue or thumbtacks for temporary fixes if you encounter problems.
After you finish installing the new headliner, clean up the area. Use safe and effective products for final touches:
Lightning Fast Stain Extractor lifts stubborn stains from fabric.
Foaming Citrus Fabric Clean Carpet & Upholstery Shampoo removes grime and neutralizes odors.
HydroThread Ceramic Fabric Protectant adds a layer of protection and repels future stains.
Vacuum the interior and wipe down surfaces. Check for any leftover adhesive or debris. Your car headliner will look new and fresh.
You can avoid common mistakes by following these tips:
Park in shaded areas to prevent adhesive from weakening due to heat.
Regularly check seals to keep moisture out and protect car head liners.
Use gentle fabric cleaners and avoid harsh chemicals.
Document wire connections before disassembly.
Create a template for accurate measurements.
Apply adhesive to both the board and fabric, letting it get tacky before pressing together.
Start applying the headliner fabric from the center and work outward.
Inspect the installation for loose spots or gaps.
Replace old backing with thin hardboard or dense foam core board for durability.
Avoid quick fixes for a damaged headliner; consult a professional if needed.
You improve your chances of success by working patiently and using the right materials. You can replace a headliner yourself and restore your car’s interior with confidence.
You can replace your car headliner with basic tools and patience. Many people report pride and confidence after finishing the job.
Your car interior looks fresh and reflects your style.
A new headliner makes your vehicle feel brand new.
Follow each step carefully. You will enjoy lasting results.
You usually finish the job in two to four hours. The time depends on your car model and your experience with DIY repairs.
You can reuse the board if it stays intact and clean. Replace it if you see cracks, warping, or heavy damage.
3M™ Headliner Adhesive gives strong results. You get better durability and fewer bubbles when you use a spray adhesive made for automotive fabrics.
Winiw International Co.,Ltd


Scan to wechat:


 Tel : +86 18150976625
 Email : Market@MicrofiberLeather.com